


 |
 |
 |
| Home | Research | Delivery | Empennage | Wings | Fuselage | Finish | Engine | Electrical | GRTDecode | Previous|Next|Latest |
| Empennage | Horz Stab | Vertical Stab | Rudder | Elevator | |
Empennage | |
| The empennage - "An arrangement of stabilising surfaces at the tail of an aircraft", also known as the tail feathers, consists of the horizontal and vertical stabilisers (the bits that don't move) which have the rudder and the elevators attached to them (which are the bits that do move!). The suggested sequence of construction from VANs is HS, VS, Rudder, Elevator. | |
Sun 01 February 2004 | |
| As the day of priming draws nearer I engraved all the stiffeners with identification marks. I used the little hobby engraver on a slow / light setting in conjunction with some character stencils to give a good even finish. Not perfect but fit for purpose. These are all going to be hidden anyway. | 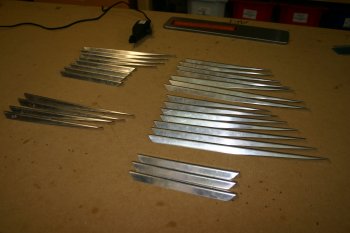 |
| This slows a close up of the character detail (stencil in the background). | 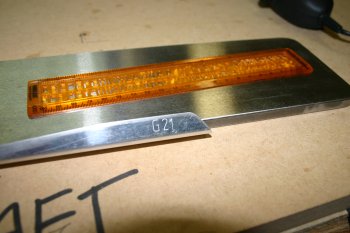 |
Mon 02 February 2004 | |
| The probable first priming batch. Lots of stiffeners (rudder and elevator) plus aileron attach brackets and a few other bits.... Hopefully tomorrow. | 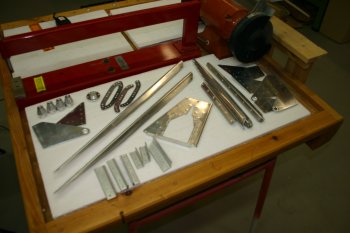 |
Tue 03 February 2004 | |
| This morning we setup the first primer job. I scuffed all the parts with Scotchbrite and Dad degreased and etched some of the parts. I then hung them up on the painting frame. It duly started to rain (not a common occurrence here) so we were delayed until after lunch for the actual spray. | 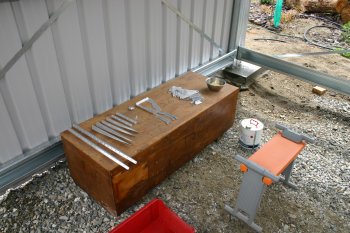 |
| The parts ready for priming. The rabbit wire fence worked really well at holding all the parts at a suitable angle. | 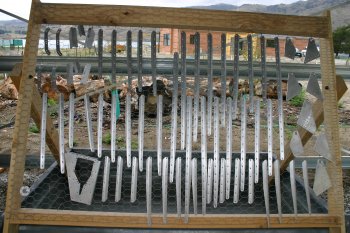 |
| The parts after I changed their colour. The spraying process is (another) new skill for me to learn, the rattle can system works OK but if we end up spraying all the internal priming, I think we will get setup properly with the air line. Being able to move the frame into the sun was useful to help the curing process. Touch dry almost immediately but I'll leave overnight before using them. | 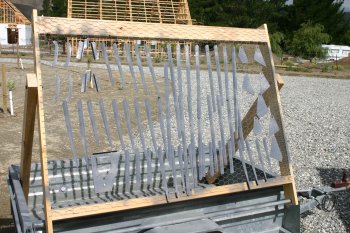 |
Sun 08 February 2004 | |
| By mid afternoon the wind had started to drop significantly therefore we decided to do a batch of spraying. Priming is something we have been holding off since the beginning of the project for a number of reasons, the primary one being we just weren't (aren't) convinced of the 'best' method / way forward. One of the options that we have been considering seriously was to use a local paint shop for ALL spraying (including the priming phases) however over the weekend we finally came to the conclusion the shear number of parts and complexity of shipping fragile parts to and from the painters was too difficult. This lead to the decision to use rattle can self-etch primer for the spars & ribs etc. The HS & VS skins I'm still a little unsure of the 'best' way forward, current options include rattle can, ALCLAD, spray gun onsite or professional, we will see. So we scuffed, cleaned and acid etched the right hand parts of the empennage (this meant we didn't need to worry about labelling as most parts are then identifiable) and set everything up. The problem was just before we were ready to start the actual spraying the wind changed direction and the temperature started to drop. At this point I suspect experienced builders know what to do. I didn't! Therefore we ploughed on trying to get just the basic bits primed - BIG mistake, first the paint started to run and then it went 'NUTS'! We think the problem was either dew point / water on the parts or just the temperature dropped to low. The results were a disaster, we cleaned up best we could with acetone and packed up deflated. It was a good day overall with the wings and elevators progressing well and the alignment of the flap being spot on. The spraying problems rather took the shine of it all though. However nothing was damaged beyond repair and tomorrow we will start fixing the priming. Another lesson learnt - Don't start the spraying process after 5pm! | 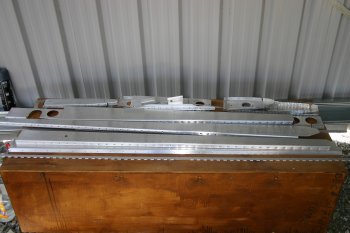 |
Mon 09 February 2004 | |
| First job early today was to clean up and re-scuff the mess from yesterday. Obviously we don't want lots of layers of paint (too much added weight and looks bad) so I took my time over this and we only used acetone rather than the etch acid as preparation. |  |
Tue 10 February 2004 | |
| Then the day took a left turn. The professional spray company we are planning on using called in and we chatted about various priming options. Currently the paint shop is fairly quiet and it was suggested this week might be a good time for a first batch of large skin priming. Therefore we dropped everything, committed to being with them tomorrow afternoon with something to spray. We started digging around and deciding which bits we wanted to do. The obvious first choices were the VS, HS and lower outboard wing skins plus the panel sub-structure and a few other bits. However this meant we needed to finish working on some of these parts....... | 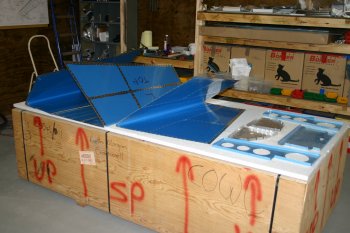 |
| The large skin parts ready for transport to the paint shop tomorrow. | 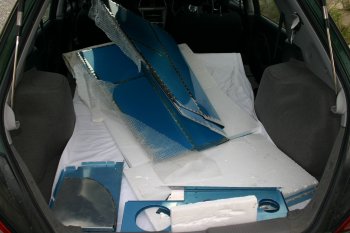 |
Wed 11 February 2004 | |
| Today we transferred the lower wing VS, HS and trim tab skins plus the panel sub structure to the local paint shop that we've been talking with. | 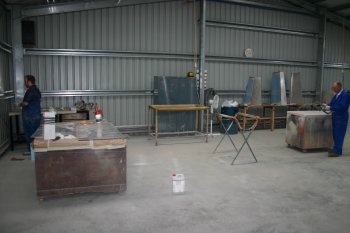 |
| The three of us completely scuffed the inner surfaces and masked up the outer surface for protection. Then we cleaned and etched before Alodining the surfaces. | 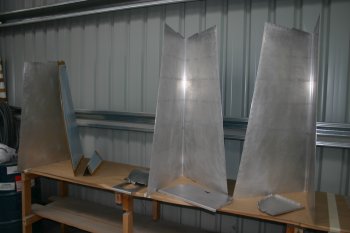 |
Thu 12 February 2004 | |
| First task this morning was to re-etch the remaining RHS empennage parts for spraying. | 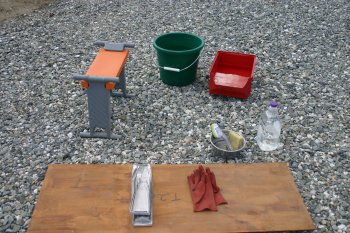 |
| As per usual the wind started coming up at just the wrong time, so the actual spray had to wait. The parts were hung up to dry mid afternoon and we got a chance to do the spraying. Dad did most of it, although I tried my hand and started to get the hang of it. | 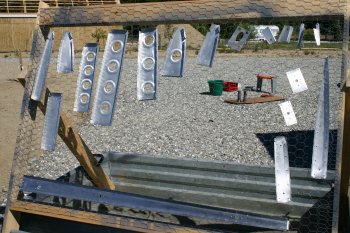 |
| The right hand side and upper components completed and ready for assembly. Now we just need some good weather for spraying the left side bits...... | 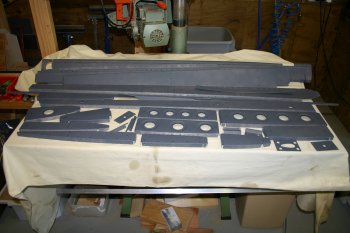 |
| We finished the day scuffing and prepping some of the left hand side components. Hopefully tomorrow the weather will co-operate and we will be able to complete some of the spraying. This is needed to move to the next stage of assembly. | 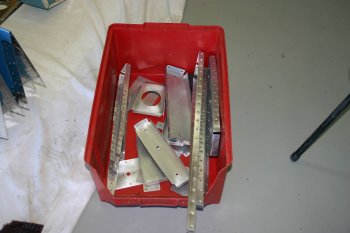 |
Fri 13 February 2004 | |
| Dad started early cleaning some more of the parts for priming. | 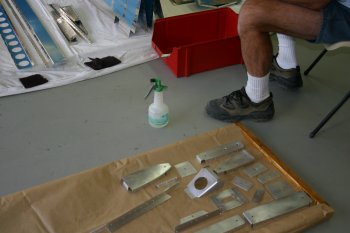 |
| I then started the etching process. This is all a little early for me.... not a morning person. | 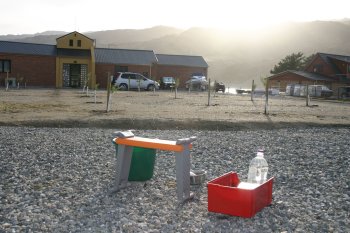 |
| Parts on the frame ready for priming. | 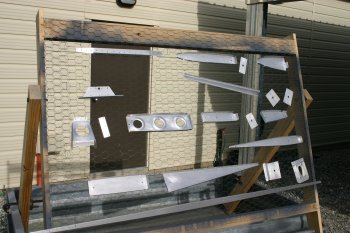 |
| Priming the remaining RHS parts. The technique is slowly being refined. By end of the day I might know roughly what I'm meant to do..... | 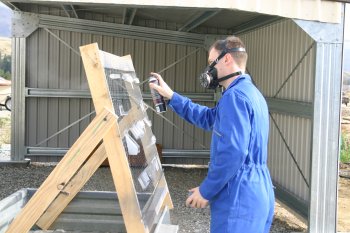 |
| The finish is really good. They used a etch and two part proxy primer. The finish is smooth, hard, even and very light. | 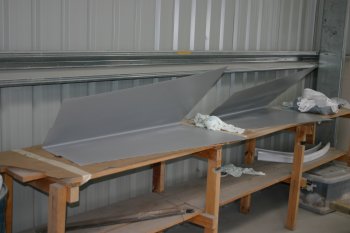 |
| Then it was back home to the left hand side parts. Normal deal degrease, etch and prime with rattle cans. | 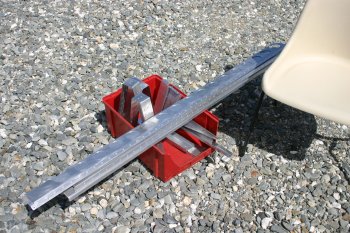 |
| The spars and long parts ready to prime. | 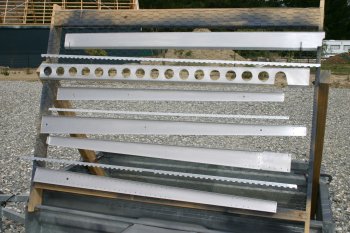 |
| Dad did most of the afternoon spraying as we were beginning to run short on rattle cans. | 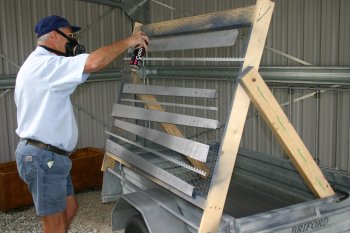 |
| All the primed parts ready for assembly. To this point we used 5 rattle cans (400g each). Today has been a really successful day and we are ready to start assembly tomorrow. | 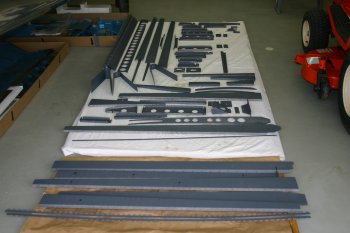 |
Sun 04 April 2004 | |
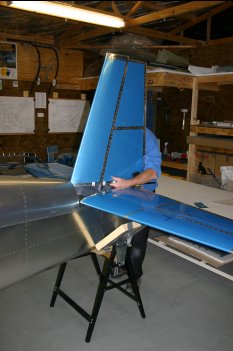 | |
Wed 15 December 2004 | |
| Then Dad started looking at the empennage mounting | 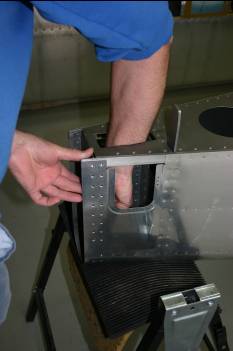 |
| The first step was to start the line up. Out of the box the HS tips were very close to perfect when triangulated to the firewall edge. | 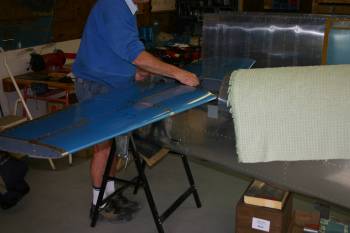 |
| After some investigation, one area that looks like a problem is the F-710 strengthening bars. The edge distance for the AN3 bolts looks like it is going to be very tight. An email to VANs has been sent...... | 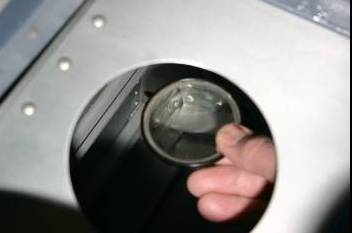 |
Thu 16 December 2004 | |
| Dad continued with the HS mounting. First up we mounted and measured (and re-measured) the alignment. | 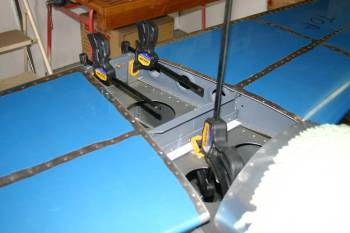 |
| In the end Dad pilot drilled the inboard locations to #30 off the fuselage. | 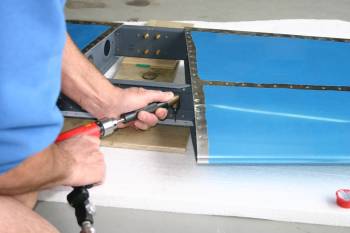 |
| And then used the angle drill to pilot the HS locations. | 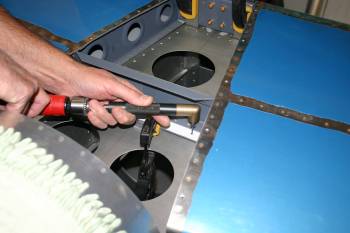 |
| These were then opened up for the 3/16 bolts | 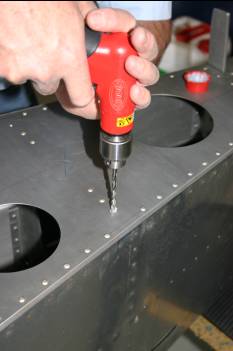 |
| The end result looks OK. The edge distance looks tight but it should all pull up OK. |  |
| HS front spar drilled. Tomorrow get the incidence sorted and maybe the VS..... As per usual everything seems to take much longer than expected (wanted). | 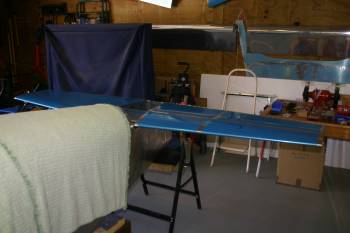 |
Fri 17 December 2004 | |
| Dad continued with the HS mounting. Fabricating and drilling the forward spar spacers |  |
| All holes were drilled off the fuselage against the HS and then all mounted as one assembly. |  |
| All mounted up, re-checking the angles / distances everything looks fine. Just got to work on the incidence angle. The tooling holes aren't level 'out-of-the-box' so a bit more thought may be needed. I think probably just mounting the rear spar 1/16" higher should fix it, will look again tomorrow. Early finish as some garden clean up needed for Christmas - rent of a kind :-) |  |
Sat 18 December 2004 | |
| I was on my own today, and it was a short day so I fiddled with some of the fibre-glass tips | 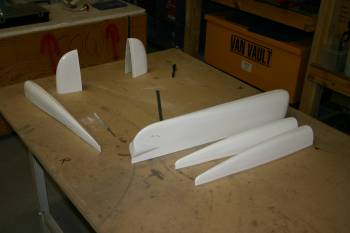 |
Thu 13 January 2005 | |
| First up, we de-rigged the VS / rudder and re-stored. | 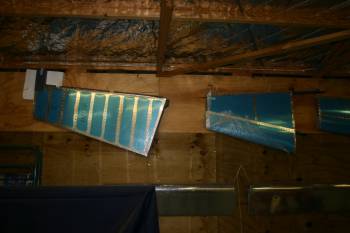 |
Tue 22 November 2005 | |
| Whilst continuing to wait for other parts to be delivered and with some fibre-glass confidence from a couple of days ago, we found something new to focus on. All the empennage tips are made from fibre-glass and need to be blind-riveted to main structure. After completing the drilling we counter sunk the tips and dimpled the appropriate locations. | 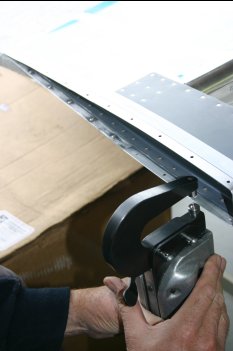 |
| We worked on all three tips at the same time - the top rudder and the two elevator tips (outboard). | 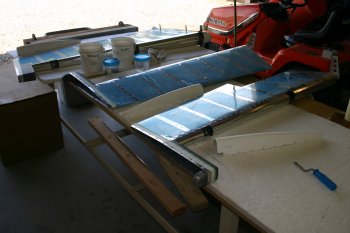 |
| Then with a silica/epoxy paste mixed and smeared over the contact surface it was cleco and pop-rivet everything. We found the pop-rivets need a bit 'extra' for counter-sinking to get a better flush finish. | 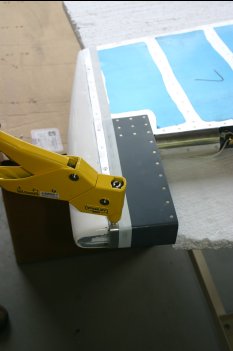 |
| After an hour or so everything was complete and the epoxy was starting to harden pretty quickly. There is definitely a point in the process when it is the 'right' time to stop. | 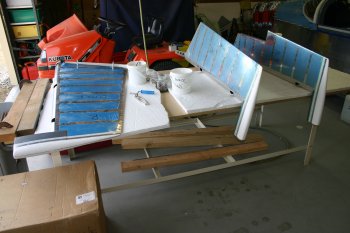 |
Wed 23 November 2005 | |
| Today we continued with the fibre-glass work. The silica paste over the lead weights work well, after a bit of light sanding / shaping we were ready for the next step. | 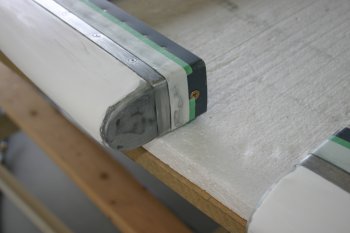 |
| A single pump of resin / hardener plus 5ml of micro balloons provides a nice thin ish paste for filling with. | 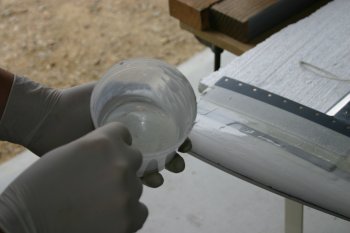 |
| Apply liberally and cover everything in a thin covering - this will then be sanded off once cured. | 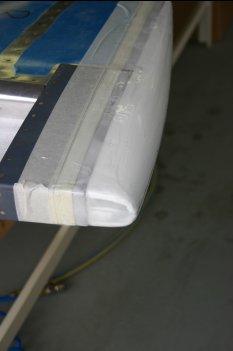 |
| The overall process worked OK, the paste thickened slightly after about 15 mins and was a bit like 'cake icing sugar' in texture. Again it is quit whilst we are ahead. | 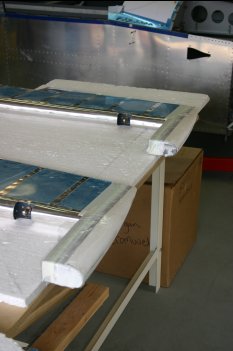 |
Wed 04 January 2006 | |
| Whilst I was in a fibreglass mode, I got the elevator / rudder control surfaces out and used the first half of the resin mix for the silca / tail light mount and the second half for micro-balloons for the surfaces. | 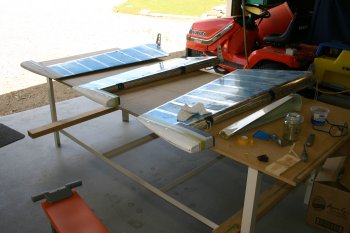 |
| I ended up doing both sides of the rudder and lower surface of the elevators, tomorrow - more sanding..... | 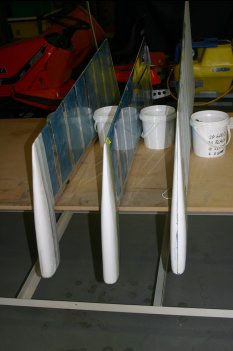 |
Sun 08 January 2006 | |
| To finish the day I got the HS / VS down off the wall and re-attached them to the fuselage. This is needed to be able to rig the empennage control surfaces so that the fibreglass tips can be completed. Also started looking at possible mountings for the 'rabbit ears' for the VOR antenna, the idea is for the top of the VS tip to hold it, but rudder travel may cause some problems - we will see. | 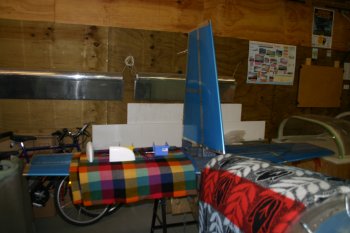 |
Mon 09 January 2006 | |
| Dad spent most of the day working on the empennage fairing and covers. Lots of reading and marking up ready for drilling out of locations / trimming. | 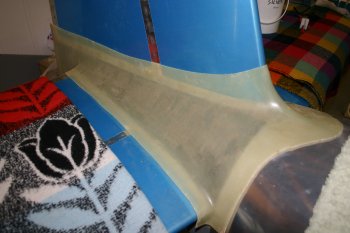 |
| One area that Dad notices was the 'excess' material on the vertical bars that the rear HS spar attaches to. No trimming completed at this point, but a good candidate to reduce aft weight and help fairings fit. | 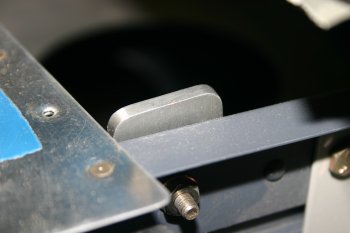 |
Wed 11 January 2006 | |
| To assist with the other tasks, we started by de-rigging the empennage. | 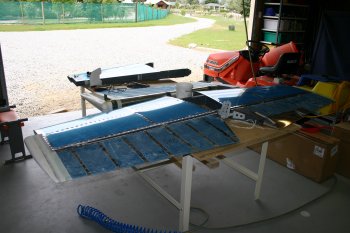 |
| With the VS off the fuse, and the HS back on, the fibreglass fairing actually fitted better than we expected. At this point only two forward locations were fixed. | 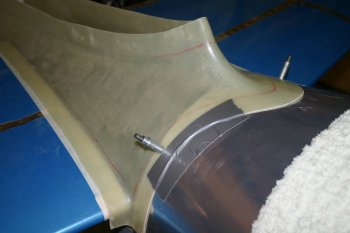 |
Thu 12 January 2006 | |
| Then we looked at the empennage fairing. I trimmed some of the VS duck tail but limited success. One things that wasn't immediately obvious was the moulding marks - the basic shape is actually shown, however we will probably provide a little more edge clearance if possible. | 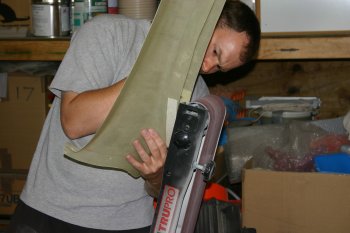 |
| This is the current state. Basically either the two sides are down, and it isn't aft enough (about 1/16"), or one side is about 1/8" too high. I think further trimming of the VS neck is the right way to go, if we have to I can always re-glass that bit. | 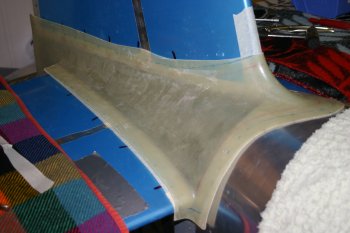 |
Fri 13 January 2006 | |
| This is the size of the problem! |  |
| We ended up heating the turtle neck a bit with a hot air gun and carefully drill each side separately. Then with the heat again, we set both sides with clecos. It seems to have work well so far. |  |
| Dad continued with the drilling / markup of the fairing. |  |
| This is the result of the markup which Dad then attacked for shaping. |  |
| Combination of die grinder and belt sander got it close, the next step is the interface between the leading edge fibreglass and AL lower cover. |  |
Sat 14 January 2006 | |
| Dad continued with mark up and shaping of the empennage fairing. | 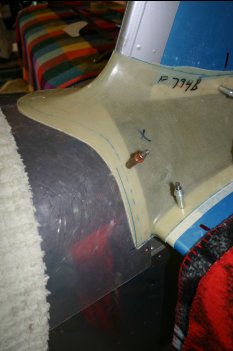 |
Sun 15 January 2006 | |
| Dad continued with the empennage fairing and trimming and cutting for the elevator horns. | 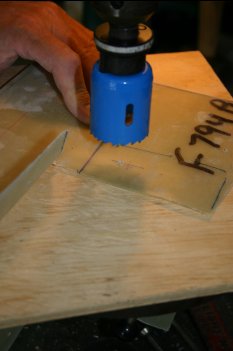 |
| then nutplate drilling for the VS & HS. | 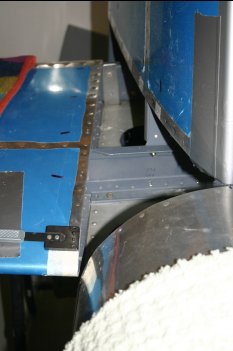 |
Wed 18 January 2006 | |
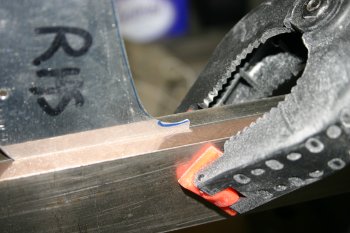
| Dad continued with shaping / cutting / drilling the empennage fairing / HS cover plates, slow iterative work. | 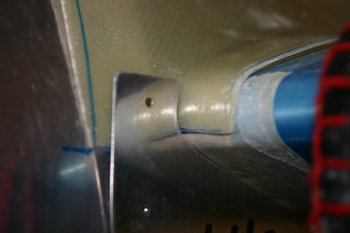 |
 | |
| The rear cutout seems to be about right - just need to check clearances. | 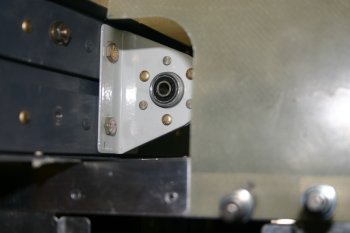 |
Fri 20 January 2006 | |
| Dad sorted the nutplates on the HS - the aft most ones we have decided to use #6 single legged. I'll need to add them to the next misc bit order. | 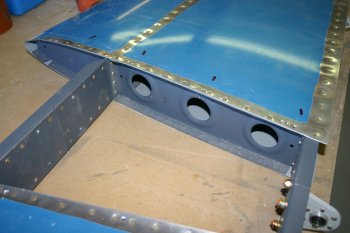 |
| The fuselage locations are a little more tricky but bucked them fine. | 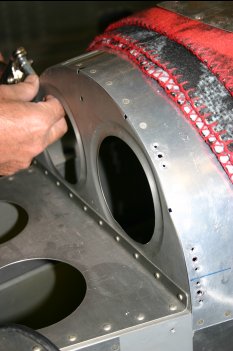 |
| Also sorted the #6 countersinking in the longeron / rear locations. | 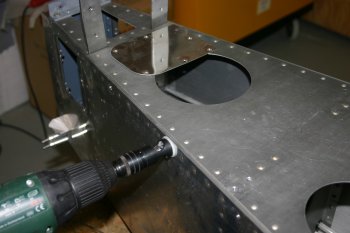 |
Sat 21 January 2006 | |
| Dad is still working on the empennage fairing covers etc - slow iterative work. | 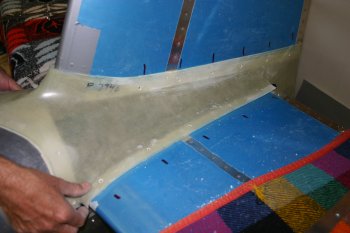 |
Mon 23 January 2006 | |
| Dad finished most of the empennage fairing stuff today - more sanding and filing. Some surface prep will be the next step, but otherwise 90% done. | 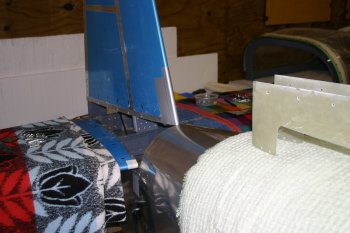 |
Sat 28 January 2006 | |
| Although the temps were high, we continued with the resin work, focussing on the HS tips / elevator counter balances. | 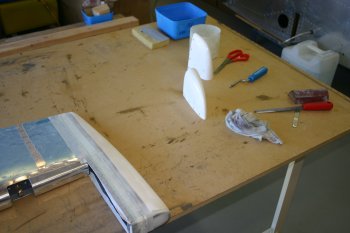 |
Tue 14 February 2006 | |
| Then wanting to make some progress on something, I re-mounted the elevators and did some more sanding / shaping. | 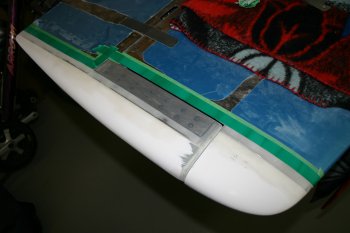 |
| With a large batch of micro-balloons / resin filled the tip lines with the two parts together. Once I've got a nice single shape, I'll split the elevators back off. The HS tips need trimming anyway for the 1/8" clearance. | 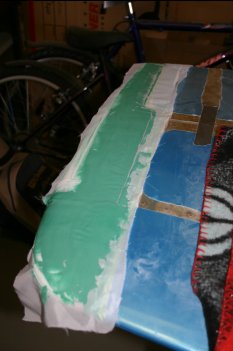 |
Wed 15 February 2006 | |
| Half day for just me on the project. Starting on the resin work from yesterday, the peel-ply left a reasonably good surface. | 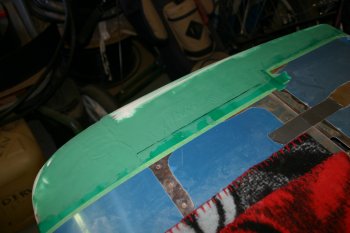 |
| Then onto sanding. Upper surfaces of both sides were done with 60 grit and then 100 wet and dry. | 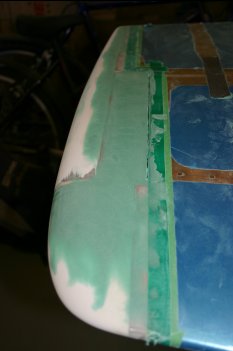 |
| Most of the shape is pretty good, but more is needed in some places - another batch of micro-balloons.... | 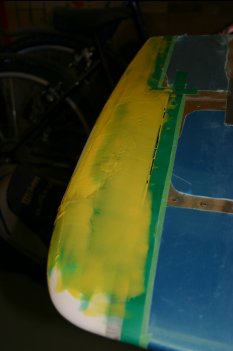 |
Thu 16 February 2006 | |
| First up - more sanding..... Got both sides upper surface to a reasonable finish - good enough for now - EP spray filler will probably be next, then hand rub down. | 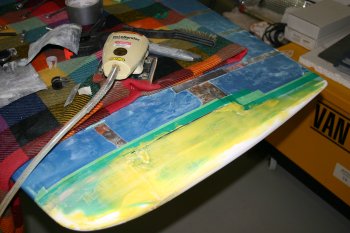 |
| Then just for a change - more sanding and resin work. I fliped the HS / elevator combo over and started on the lower surfaces. Main sanding was the HS tips from the original flox / fill. | 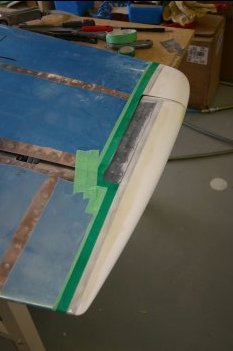 |
| Then a thickish batch of micro-balloons and light smoothing. Tomorrow - more sanding! | 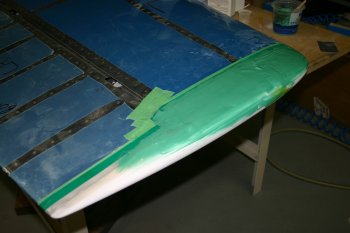 |
Fri 17 February 2006 | |
| Started off sanding down the lower surface of the elevator / HS. The final profile looks good, with the elevator in-trail the transition between the HS and control surface is very smooth. At this point however the two parts are still joined - not very useful as an elevator! | 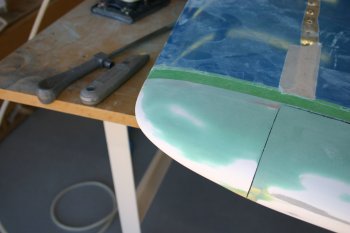 |
| I used a pad saw plus knife to work along the original gap and then removed the hinge bolts - two parts came away neatly - then lots of edge tidying. I'll need to remove more of the HS tips at some point to get the 1/8" clearance, but I'll wait until I've done the work on the elevator counter weights. Surface wise it is probably ready of EP filler / primer. | 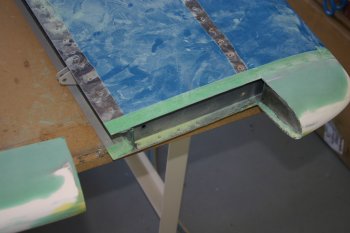 |
Fri 24 March 2006 | |
 | |
Mon 28 May 2007 | |
| Another few hours sanding, profiling and blending the fibreglass tips to metal skins. | 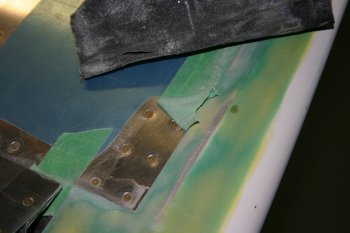 |
Wed 30 May 2007 | |
| Masked up and scuffed the edges of the fibreglass tips. | 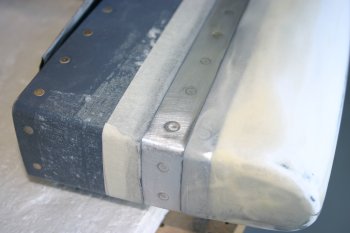 |
| Then painted with a brush some EP filler on - this was a bit of an experiement - but once the 2 pack settled down (about 20 mins after mixing) it worked really well. It will require rubbing back / smoothing anyway - we will see. | 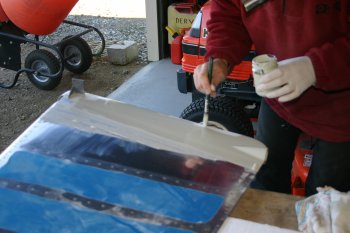 |
Fri 01 June 2007 | |
| I spent the day hand sanding (and a bit of palm sanding) the EP Filler on all the empennage tips - all came up really well. | 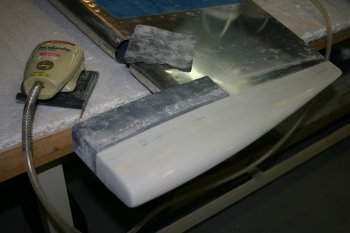 |
Mon 04 June 2007 | |
| Then worked on some of the mounting of the empennage - hopefully another item on the 'final time' list. | 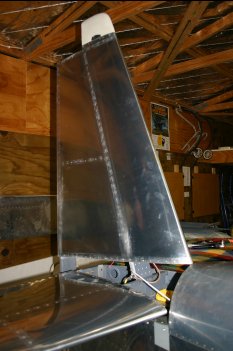 |
Tue 05 June 2007 | |
| Dad continued with some of the mounting of the VS - some sorting of fresh bolt hardware / rationalising stock was also needed. | 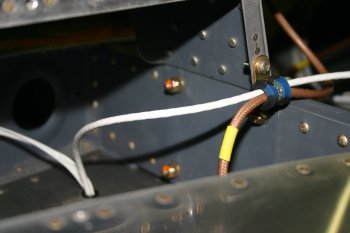 |
Mon 30 July 2007 | |
| Dad mounted up the elevators and worked around rigging type stuff. | 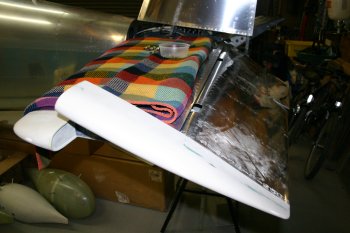 |
Tue 31 July 2007 | |
| I re-visited the elevator trim system, a bit more filling / tuning and connected / shrunk heat shrink on the pins. Also validated the trim boards - all seem to work and switch speeds. | 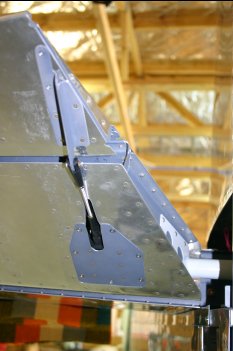 |
Thu 09 August 2007 | |
| Dad finished the elevator mounting - did up all the lock nuts and torque sealed. | 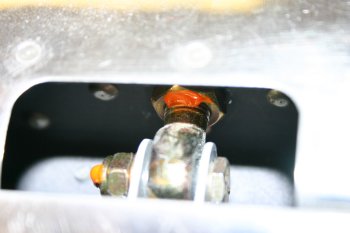 |
| Home | Carl Morgan | Previous|Next|Latest |