


 |
 |
 |
| Home | Research | Delivery | Empennage | Wings | Fuselage | Finish | Engine | Electrical | GRTDecode | Previous|Next|Latest |
| Fuselage | Cockpit | Fuel Systems | Undercarriage | Canopy | Flaps | |
Fuel Systems | |
Tue 27 January 2004 | |
| Meanwhile in a galaxy not so far away, Dad was investigating the airflow fuel injection pump and trying to fathom the multiple funny bent lumps of tubing on the drawings. | 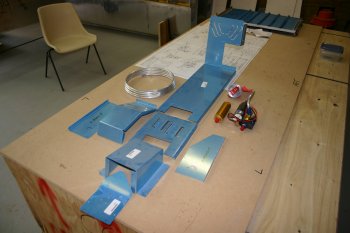 |
| After some initial head scratching the principles are now understood. Next was more deburring and edge finishing. | 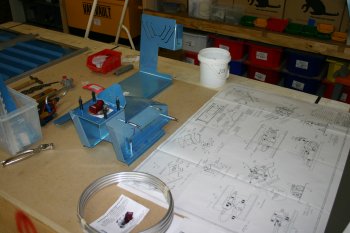 |
Wed 28 January 2004 | |
| Dad spent the day working with the airflow fuel pump and its mountings. | 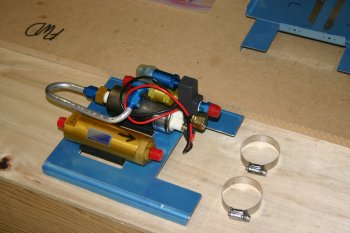 |
| Also the covers and plates were put through the normal processes, smoothing, drilling, deburing, dimpling..... |  |
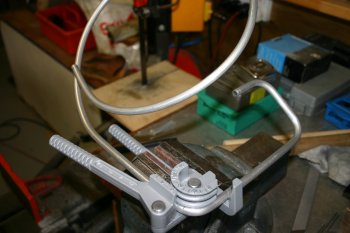
| The bends for the first section of tubing are 'interesting', considering this is the first use of the pipe bender it is even more so.... | 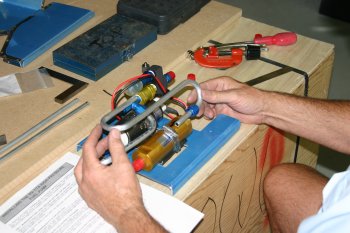 |
| It all came out well in the end, even with a few challenges with the pipe cutter and flaring tool. The bends makes it too tight to use the tools so you have to open the shape back up a little. Then the trick is to not work harden the soft AL tube. Slow progress for half a days work, but we are still learning new techniques so hopefully things will speed up as time progresses. | 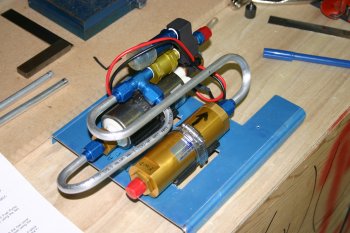 |
Thu 29 January 2004 | |
| Dad also did some more work on the Airflow pump setup tonight although the fuel valve end of the lines will have to wait. | 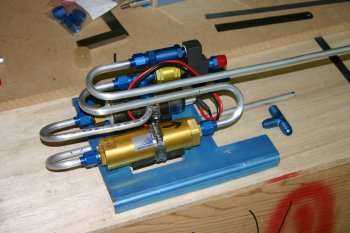 |
| I have purchased an AndAir fuel valve (from VANs) which is a really nice fuel selector, however the common port is a male connection (versus the female coupling with the standard VANs valve) which means we are going to need to think more closely about the connections. The inbound ports are also more difficult to route. |  |
Fri 30 January 2004 | |
| Dad managed to get some more work down on the airflow cover attacking it first with the sabre saw (scary tool number 1). | 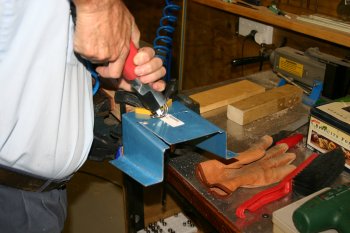 |
| Followed by the rotary burr (scary tool number 2). Getting there slowly. | 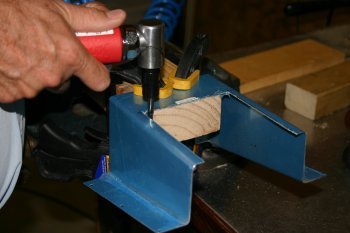 |
Sat 31 January 2004 | |
| Meanwhile Dad spent the afternoon finishing the forward tunnel cover and heat baffle drilling. | 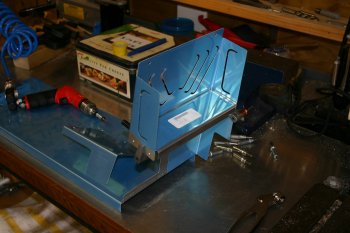 |
| Normal deal - drill, debur, dimple, and clean. | 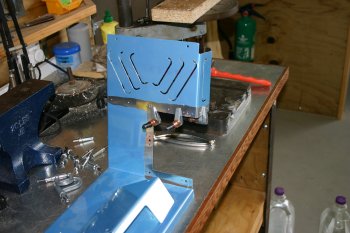 |
| The partially finished parts (except for fitting and drilling to the fuselage) ready for priming. | 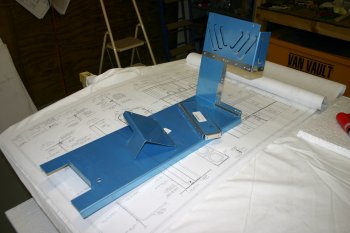 |
Tue 09 March 2004 | |
| Dad spent the day continuing to fight with the fuel valve and airflow system. | 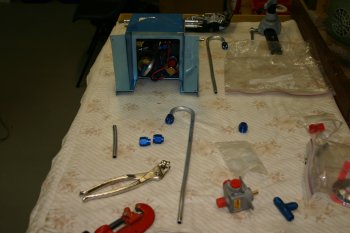 |
| One of the first task was to empty some of the related bags. The more bags we empty the more 'bits' we end up with..... | 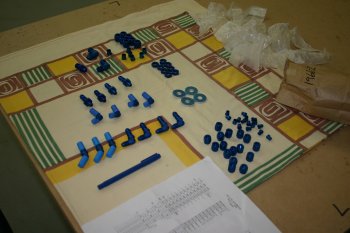 |
| The fuel valve mounting was drilled as far aft as possible and all looks promising. | 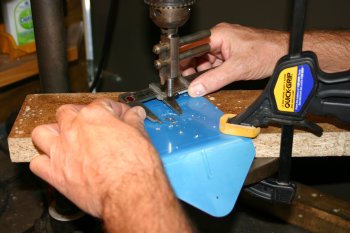 |
Thu 23 December 2004 | |
| Whilst I was in the UK I got the old VANs supplied Andair fuel valve changed for a female lower port (rather than the male original) and also got two banjo fittings for it. You can see the difference between the banjo and the angle. The Andair guys were great. A well travelled fuel valve - before first flight. | 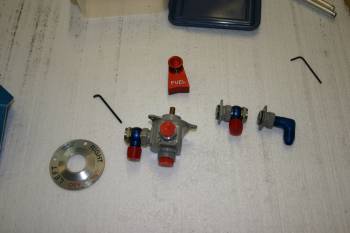 |
| and I started to look at the forward cockpit layout. I also remade the valve cover plate (without the bend). | 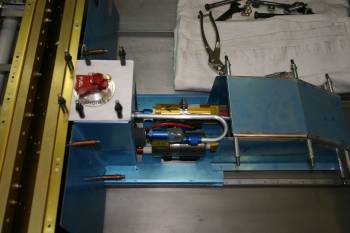 |
Tue 28 December 2004 | |
| Dad then got called away, so I went on to some bits and bobs. First up was riveting together some of the primed parts from yesterday. Fuel pump 'top-hat' was quick and simple, although did require both the rivet gun and squeezer. | 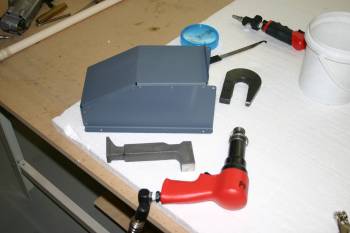 |
| Then onto the forward cockpit covers. Multiple parts to rivet / nutplate / setup. | 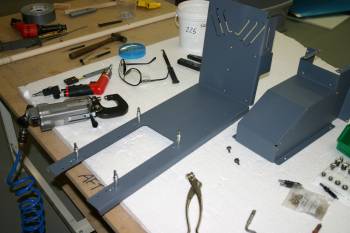 |
Wed 05 January 2005 | |
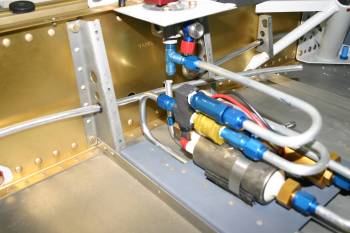
| I then moved on to the fuel system plumbing. An 'interesting' set of problems..... | 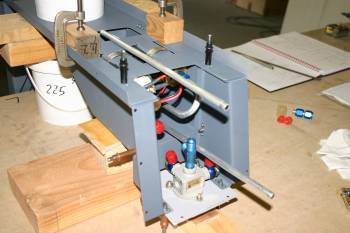 |
| After failing a few times (see right hand side :-) I manage to sort the first line from the valve to the filter inlet. | 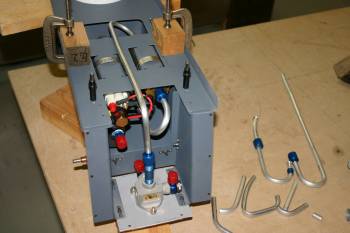 |
| And got the remaining pipe work sorted comparatively quickly. | 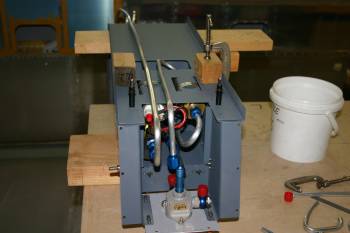 |
| Then the modified base plate could be riveted to the cover panel | 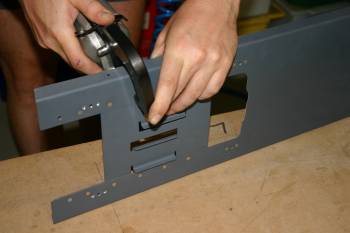 |
Thu 13 January 2005 | |
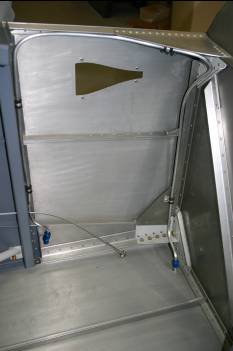
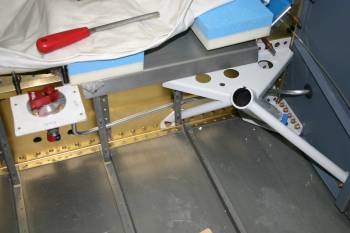
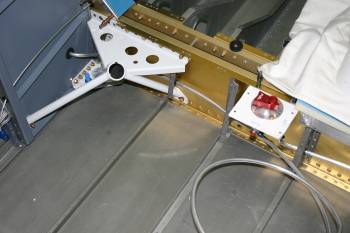
| Then we moved onto the fuel vent line, the tank inlet position is a compromise between aft enough to clear the wing fairing and forward enough to clear the angle. | 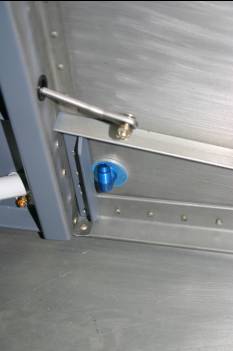 |
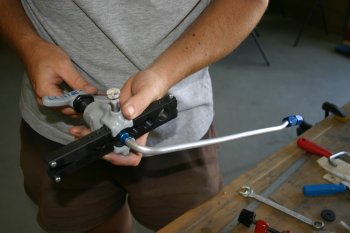
| Then it was the fun and games of bending the vent lines. These are known as a real PITA although we only had a couple of false starts. The key seems to be the first bend, it needs to be as tight as possible and then go from there. | 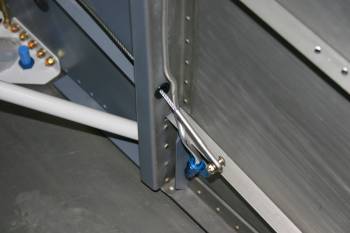 |
| The top corner / other bends I used a old pulley and the bending spring which seemed to work well. | 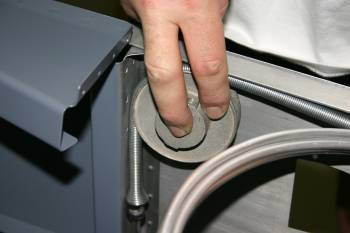 |
| Obviously two sides, the second one worked slightly better. | 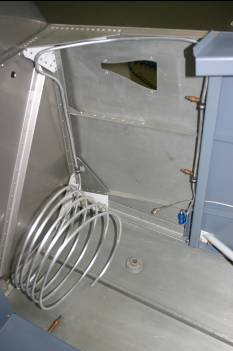 |
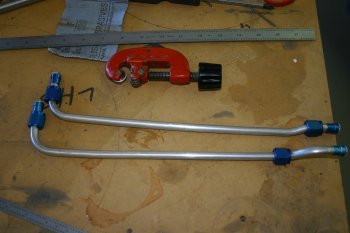
| The product of 6 hours work - two pieces of bent tube - ready for installation (or scraping :-) | 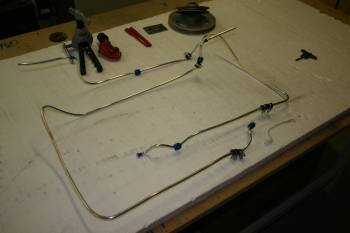 |
Fri 14 January 2005 | |
 | |
 | |
 | |
 | |
 | |
 | |
 | |
Sat 15 January 2005 | |
 | |
 | |
 | |
 | |
 | |
 | |
Sun 16 January 2005 | |
| I continued with the RHS fuel line. After yesterday struggling to get the line in the next step was the forward bend to come up behind the selector valve. The first bend of the day failed and the bending spring didn't protect me against it going flat. Therefore it became scrap and I had to cut it all out and re-thread a new piece. Not a great start to the day! | 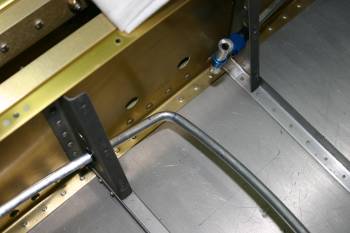 |
| Yesterday the threading of the fuel line for each side took about 4 hours, however practice does help! This time I did the inboard end first and then measured a suitable length to thread outward. | 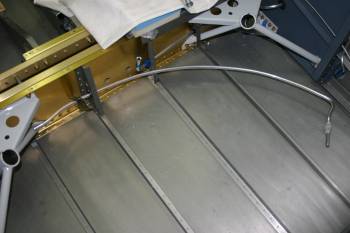 |
| One other thing that helped was I started with a slight joggle on the outbound end. Then Dad fed the tube through and I manipulated tube between the weldment / skin gap. I'm not sure why, but we did this in about 3 mins - no joke! I think some of it comes down to confidence, the tube definitely work hardens so less manipulation is good news. | 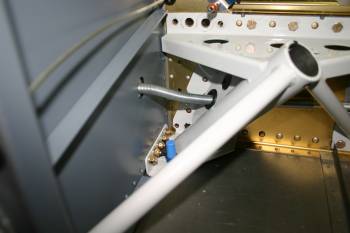 |
| This all resulted in a neat solution for the RHS fuel line. | 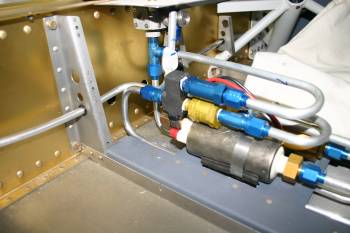 |
| I re-confirmed everything fitted and than started looking at the brake line alignment. | 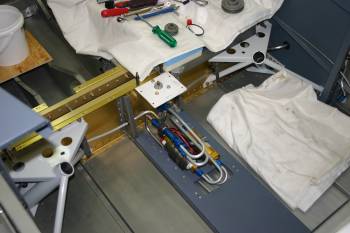 |
Mon 07 November 2005 | |
| Dad also started organising some pro-seal items. These are the fuel vents which need a mesh glued to them to prevent bugs crawling up into the fuel tanks. | 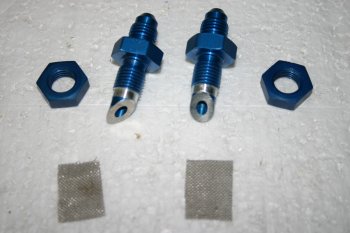 |
Tue 08 November 2005 | |
| The fuel vents needed a mesh glued. | 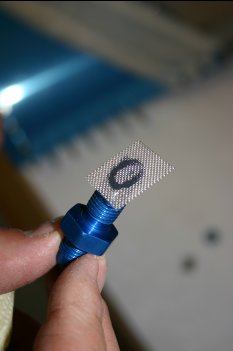 |
Thu 24 November 2005 | |
| Dad also cleaned up the edges of the fuel vents after the pro-sealing the mesh screen. | 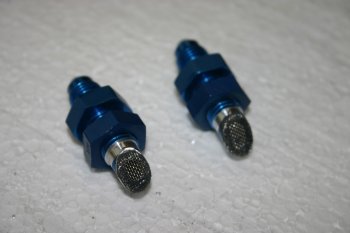 |
Mon 03 April 2006 | |
| Finishing the day I looked at the nuts for the fuel pickups. The VANs Service Bulletin suggested drilling and safety tieing of the nuts - although I don't think it is a great engineering solution for the problem, I think it is easier to just comply with it. I was nervous about the drilling of the nuts, but in the end it wasn't too bad. I started with a center drill to get a ~45 degree edge. |  |
| Then a #60 drill could be used for the cross drill. I ended up completing both nuts without too much problem. |  |
Tue 04 April 2006 | |
| I sorted the fuel sender floats, one thing that isn't immediately obvious to me was the 90 degree bend on the sender end that goes through the pivot point. |  |
Mon 11 September 2006 | |
 | |
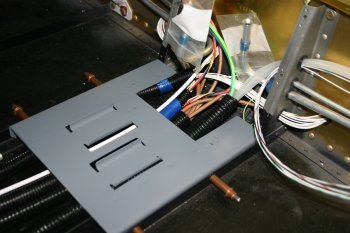 | |
Wed 13 December 2006 | |
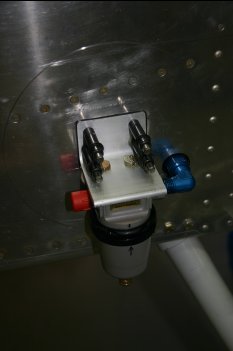
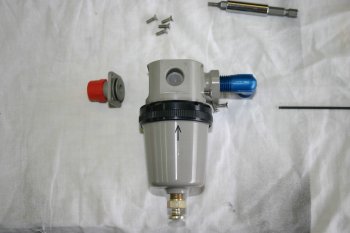
| New toys - the gascolators where one of the main items on the delivery. Made by AndAir they are quality construction. | 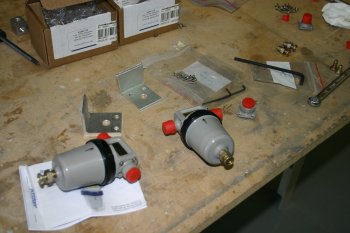 |
| We are putting one on each side in the wing root fairings. I made two brackets (one left / one right) which hopefully will be usable. The problem is the 'bend' that is needed coming out of the fuselage is very tight but I can't see any other options. | 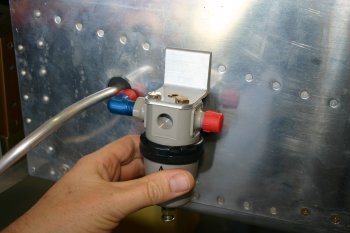 |
Mon 18 December 2006 | |
| We are hoping to get the wings back on (with shop bolts) for Christmas,
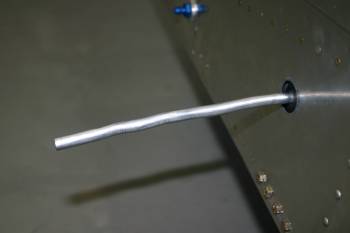
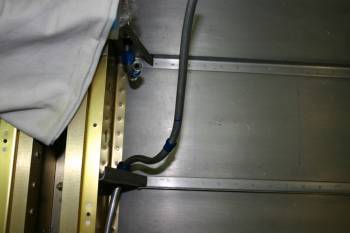
people will be round to look a the project and I want to finish up some of the wing tip areas. One of the pre-tasks is to try and sort the fuel lines / gascolators. Although VANs doesn't normally recommend gascolator for fuel injected, the local SAA and CAA are very 'keen' - and the advice I've been given is they should be installed. I'm still a little on fence to the value, but roll with the punches and I don't think it increases any risks. We have been avoiding catching the two fuel lines sticking out of the fuselage for the past 12+ months - today I finally got to the point of having to bend them. I protected the AL pipe using a bending spring and positioned a round stock to bend round. Smooth pressure whilst Dad held the inner side. | 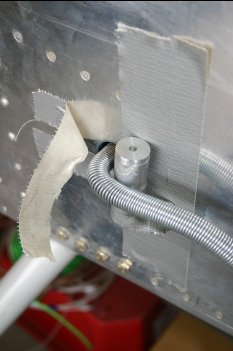 |
| I thought it had gone ok, but as I removed the spring a real sinking feeling..... The pipe has crushed - scrap. And I know the problems it is going to cause to re-make it - a really bad day..... | 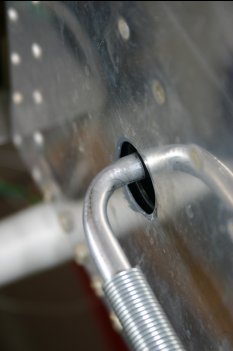 |
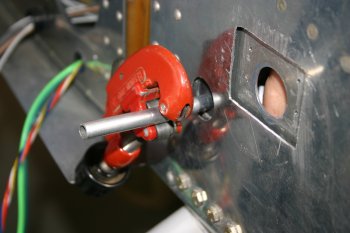
| Last hope was to trim the line back and try and re-terminate. Die grinder to cut. | 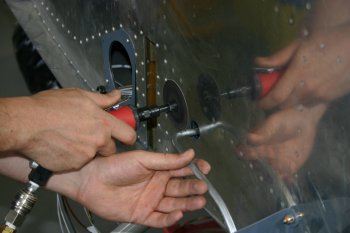 |
| But the sleeve doesn't go back far enough to be able to get the flaring tool onto the pipe - sunk again. | 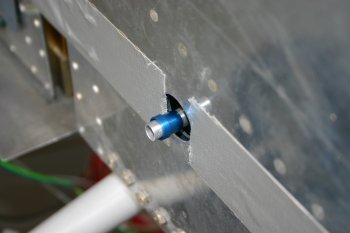 |
| I went back to the original plan to use a pipe bender on the LHS - but after more thought I
came back to the conclusion that this is a bad idea.
The clamp that holds the pipe to the bender results in the 1" radius bend being 2"
from the bender edge - this is too far out for the gascolator brackets that I've already made and
is more than I want anyway. We spent another couple of hours looking at various options, nothing seems to work neatly - I'm trying to keep the junctions outside the cockpit if at all possible. I'm probably going to need to remake the whole line on the RHS. I don't have much stock material, I don't know what the clearance / space issues between the wing / skin are yet either. All rather frustrating and a bit depressing - I posted on VAF see what other can suggest - we will solve it, but it isn't going to be easy, and at the moment I don't really have a plan. | 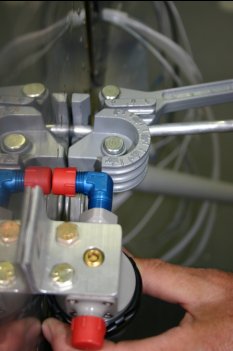 |
Tue 19 December 2006 | |
| As a last ditch effort to save the RHS fuel line, I reworked the end as best I could and tried to flare it. The problem was it was very marginal on getting enough tube into the flaring tool. | 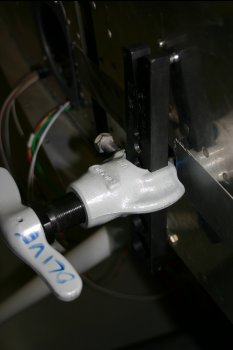 |
| In the end - it wasn't enough! I used flare fitting and tried tightening up the nut, the flare broke off too weak.... oh well | 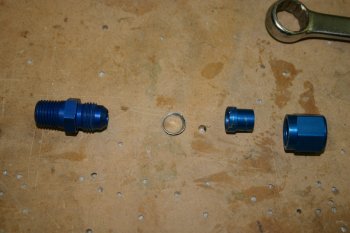 |
| This shows the problem - the identified AL Tube (the lower one) now has to be extracted and re-made. It goes to the forward fuel selector location, through the ribs, through the gear weldment and then out through the skin. Not something for today - and I still might take the flexible tube route. | 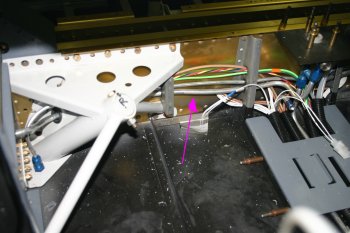 |
| To try and work out what a valid solution is, I decided to try a similar plan on the LHS. Trimmed with the cut-off wheel. | 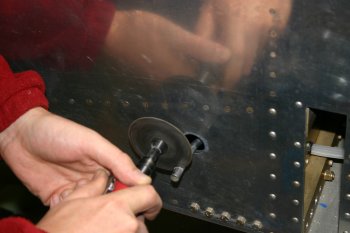 |
| Cleaned up and flared this is the result. It is about as close as I can get the gascolator to the side of the fuselage. I'm not sure if this is good enough, I'm worried that the weight of the (filled) gascolator will be too much. More thought / ideas needed. | 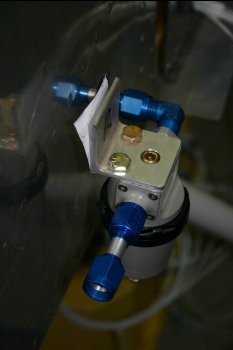 |
Wed 03 January 2007 | |
 | |
Thu 08 February 2007 | |
| Started looking at the cut out and mounting of the FloScan sensor - this is about as far aft as it can go before it conflicts with the fuel pump. | 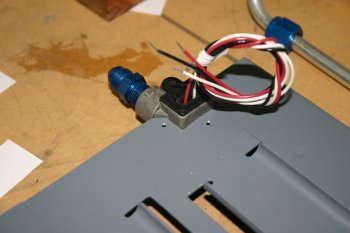 |
Fri 09 February 2007 | |
| I spent most of the day trying to work out how to mount the FloScan sensor - several options tried and none are really working - frustrating. | |
Sat 10 February 2007 | |
| I finally finished making to tapered AL bushes of the right size - attempts #6 and #7! These went in and were pulled down neatly into the FloScan sensor. | 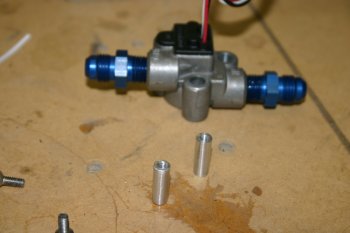 |
| More plate modification and this is the final result - very tight but hopefully will provide enough spacing for the 'joggle' on the downstream fuel line. | 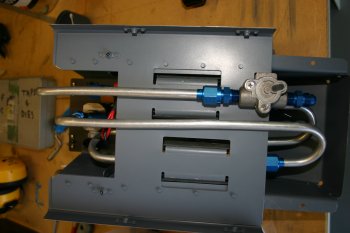 |
Sun 11 February 2007 | |
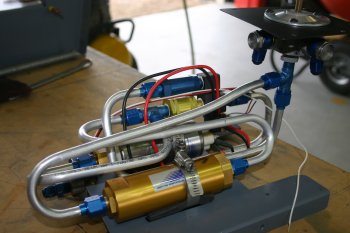
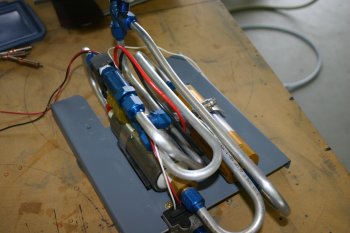
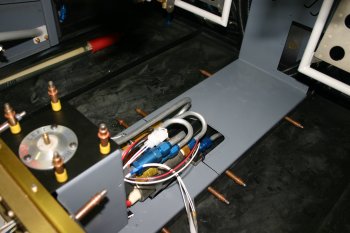
| Meanwhile I worked on the forward fuel system between the floscan and the firewall bulkhead. All rather strange bends / angles and tight distances. | 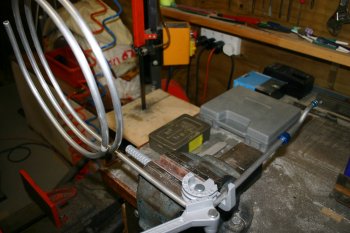 |
| This is the current revision - fits well, the remaining concern is the clearnance at the front of the 'dog house' | 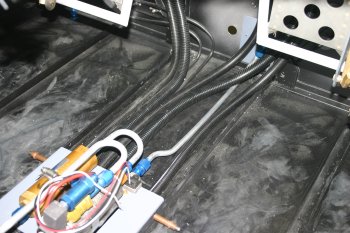 |
Mon 05 March 2007 | |
 | |
 | |
Tue 06 March 2007 | |
 | |
 | |
 | |
Wed 07 March 2007 | |
 | |
 | |
 | |
 | |
 | |
 | |
Thu 08 March 2007 | |
 | |
 | |
 | |
Sun 11 March 2007 | |
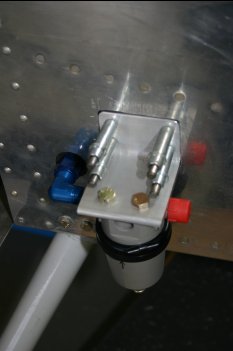
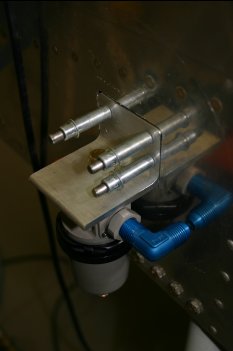
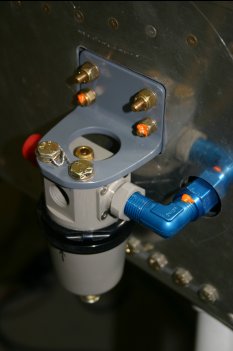
| Spot the problem, this really bummed me out. I've got the in and out lets the wrong way round, the issue is the mounting brackets are subtly different (handed) for the fuselage mounting which means a simple switch is not simple. I'll deal with it tomorrow. | 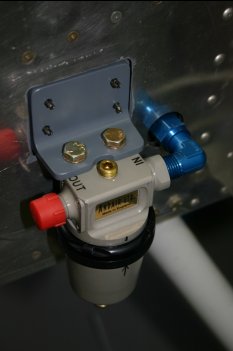 |
Mon 12 March 2007 | |
 | |
Tue 13 March 2007 | |
 | |
Sun 18 March 2007 | |
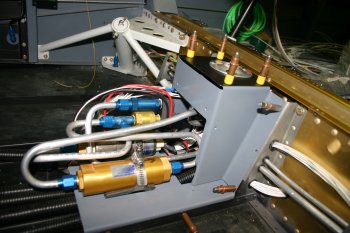
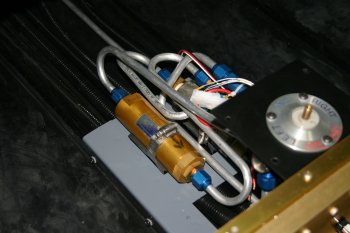
| Re-assembled the fuel pump sub assembly - hopfully for the last time..... | 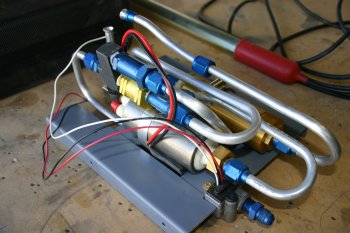 |
| The flowscan location works well, but clearances are tight. | 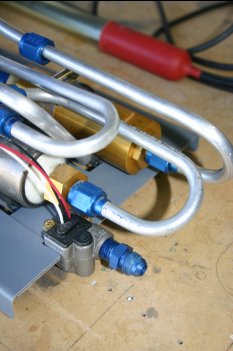 |
 | |
Mon 01 October 2007 | |
| Cleaned up the fuel tanks and wing sections with acetone. Safety wired the fuel pickups. | 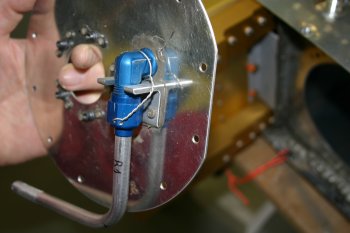 |
| One thing I spoted on both QB fuel tanks was a bead of Pro-Seal around the bottom of the tank drain - came out cleanly with a knife. | 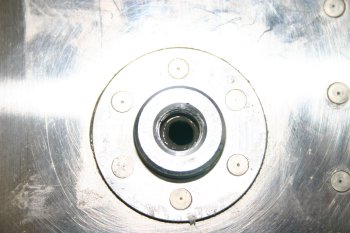 |
Tue 02 October 2007 | |
 | |
 | |
Sun 07 October 2007 | |
 | |
 | |
Mon 08 October 2007 | |
 | |
 | |
 | |
Tue 09 October 2007 | |
 | |
Mon 19 November 2007 | |
 | |
 | |
Wed 21 November 2007 | |
 | |
| Home | Carl Morgan | Previous|Next|Latest |