Vertical Stabiliser |
|
| As we are waiting on a new disk / belt sander combination and need to sort the priming process out I decided to crack on with the Vertical stabiliser, it is the second major section to be constructed. | 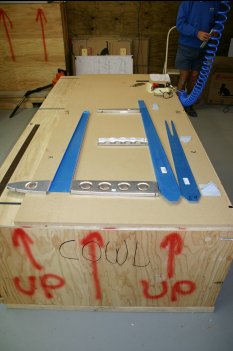
|
| Fluted and dimpled all the VS components. Pneumatic squeezer for all the ribs, C-frame for the skins. | 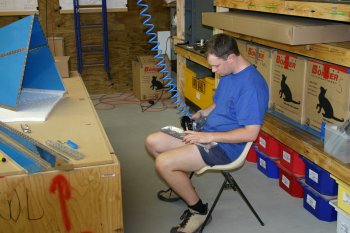
|
|
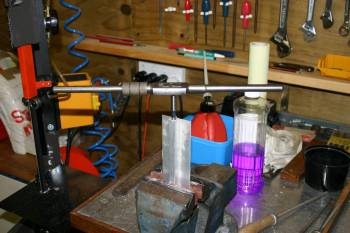
| A relatively new update to the RV 7 drawings includes the optional 'lightening' of the spar reinforcement VS-808. We chose to do it. Here Dad is using a fly cutter to make the 2" & 1.5" holes. | 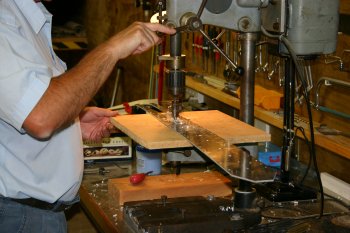
|
| Finished product. Total of about 4 ounces saving, but it is at the far aft end of the plane. Every little helps. | 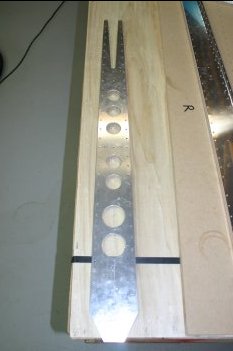
|
|
| This morning I found out how to efficiently debur skins and internal structures to my satisfaction. Easy once you know how, but took a bit of trail and error. Generally speaking I use a traditional file for the parallel flanges of the spars and then use the die grinder with a small scotchbrite wheel on all edges. The finish generally seems pretty good but I'm also using some fine grade sand paper to just smooth things off where needed. Quite a production line going after a while. Finished deburing and cleaning up all the edges on all the VS parts including the skin. These parts are now ready for priming so this is the first group of 'bits' for the pile. | 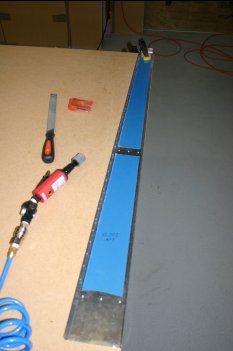
|
|
| Today we started on the Vertical Stabiliser assembly. | 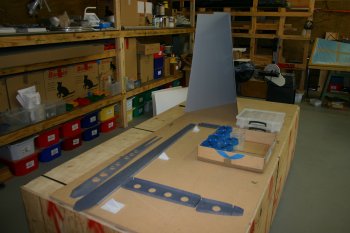
|
| We realised that the lower corner holes for the bottom bracket hadn't been drilled so that had to first be fixed then resprayed. | 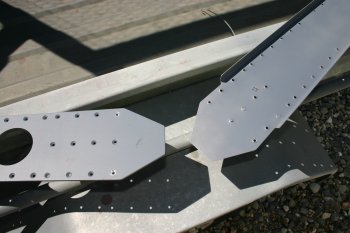
|
| Dad also sorted a little bit of "red-oxide" primer for the steel drilled parts. | 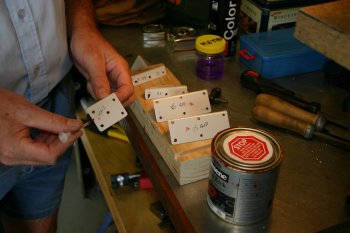
|
| I back riveted the lower flush rivets and then squeezed then remaining locations. | 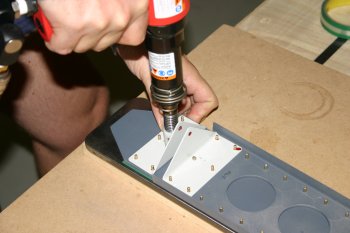
|
| The finished rear spar for the VS. | 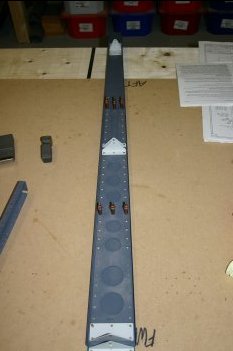
|
| Next up is the front spar, ribs and webs. | 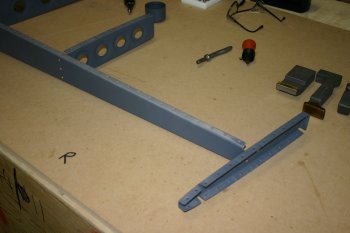
|
| The upper two cross members can be squeezed but the lower web was too tight, therefore the bucking bar and rivet gun were the only option. | 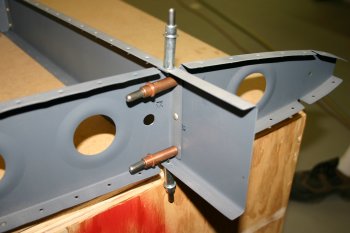
|
| We then inserted the front spar into the skin and bucked and riveted the front row of rivets. We found laying the spar down and rivet downwards worked quite well. The small AD3 rivets really don't take very much duration. A shortened day as we had visitors for the evening. | 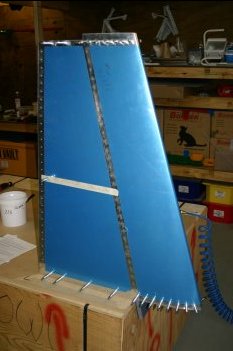
|
|
| Today we continued on the vertical stab skin. For these rivets we are using the bucking technique which has the rivet gun on the outside of the skin with a flush head set and a bucking bar on the inside. | 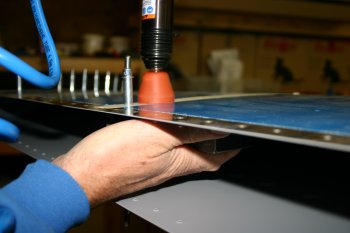
|
| The bucking bar is basically a large lump of steel that is polished to a provide a smooth flat surface. This is placed on the shop end of the rivet and acts as an anvil to deform the rivet. | 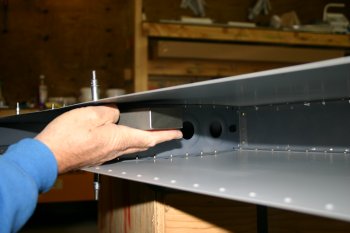
|
| This is what happens when the bucking bar is not held on a rivet and the gun is 'fired'. The skin gets a dent and the rivet isn't touched. Not at all good (a large understatement and we were very annoyed) , but we have learnt from it and hopefully we won't make the same mistake again! | 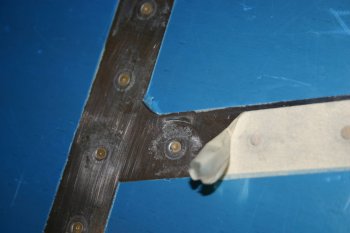
|
| Before the rear spar is put into place on the VS we ran a draw cord through the front of the spar to enable cabling for a 'beacon' on the VS tip if we want it. | 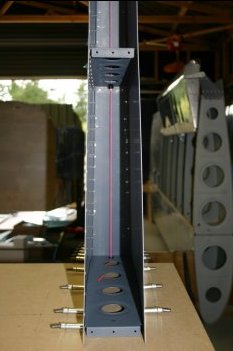
|
| I then worked evenly on both sides leading edge to spar on both the top and bottom ribs. All the rivets were fine apart from the two forward most rivets on the upper rib. We have left them for the moment and will think about the best method. (A long - no-hole yoke might work but that would be yet another purchase for a one-off tool.) | 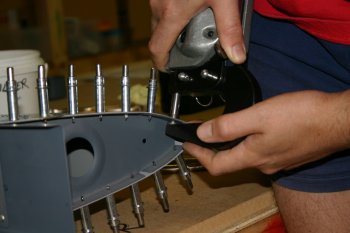
|
| Next I worked down the spar from top to bottom with the squeezer. | 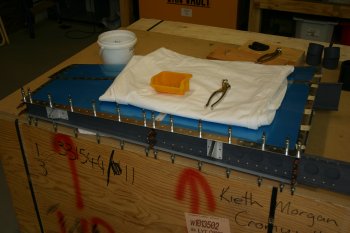
|
| Dan had a note about using the AD4's for the spar with the manufactured head on the aft of the spar which I followed. I now understand why it is important and the clearance is very tight but it does work. | 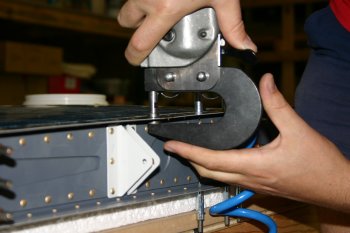
|
| The final step of the VS is to blind rivet the mid rib to the spar. | 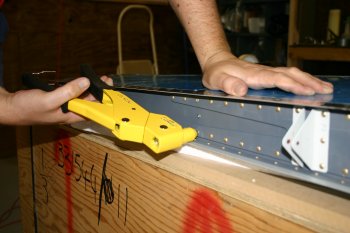
|
| The finished assembly (except for a couple of rivets). | 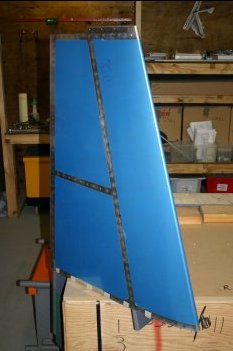
|
|
| Dad did lots of tidying and shed cleaning up and also hung the completed VS up for storage. | 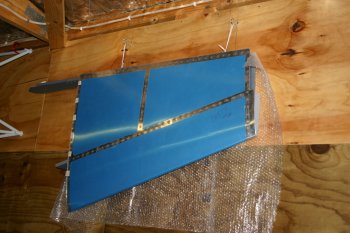
|
|
| | 
|
| | 
|
|
| and the VS tip was simple. Rest of the day I was helping in the garden, but I also spent some time to try and understand the empennage mounting. | 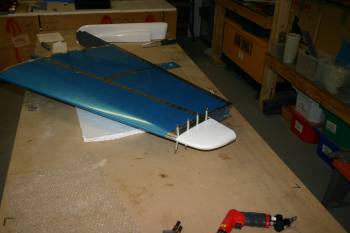
|
|
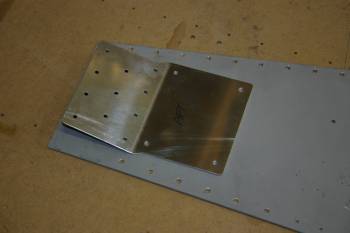
| I started the rear VS attach bracket. I don't understand why 1x1 1/4" angle is needed for this part but I had the stock pre-cut ready so I just continued. | 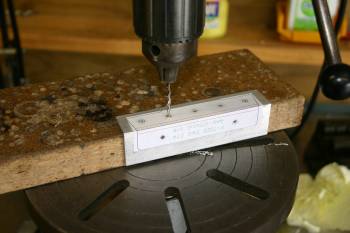
|
| Then Dad trimmed 5/8" from the forward VS spar. This is as per plans, however as you will see later, I'm not sure I would trim it quite as much 'next time'. | 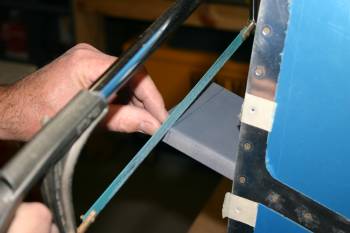
|
| Mounting the rear bracket. | 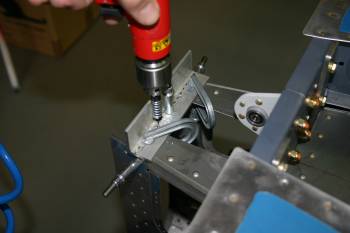
|
| The clamping / rigging of the VS is a little fiddly. | 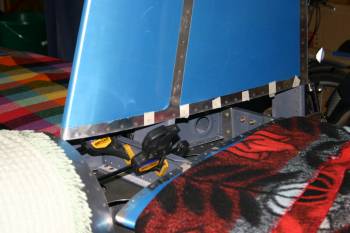
|
| After sorting the heights from the lower bracket, we are pretty ready for rear spar drilling. | 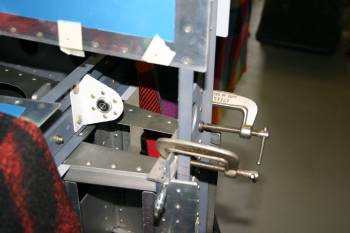
|
| The front spar bracket however didn't really 'look' right. Particularly the lower 3/16 bolts which connects the forward VS spar to the forward HS spar. | 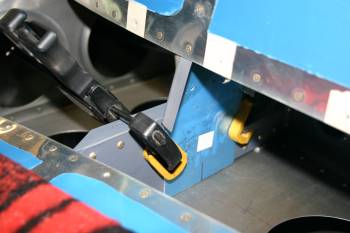
|
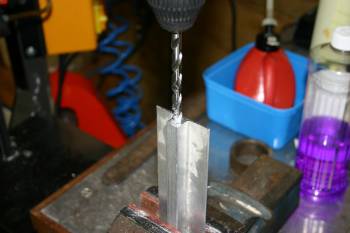
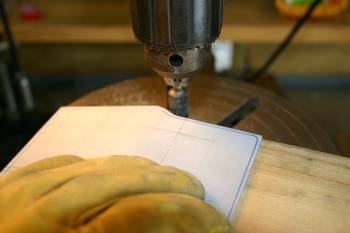
| I drilled the lower #30s on the pillar drill and then match drilled the upper locations. | 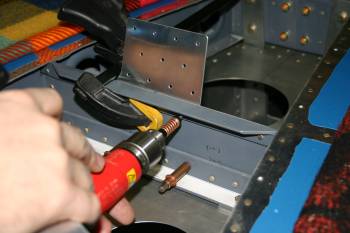
|
| Final drilling of the 3/16 bolts for the VS spar bracket goes into the longeron. The edge distance is tight on the longeron but looks OK. | 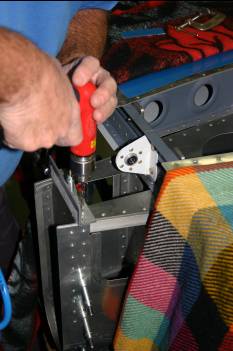
|
| Everything finally lines up, although I need to understand what vertical alignments we can measure. The forward spar / rivet attach is very marginal. More tomorrow.... | 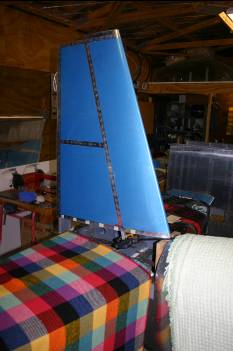
|
|
| First up we worked on the VS alignment, everything looks good, although the rear angle was slightly forward of the reference 90 degrees. | 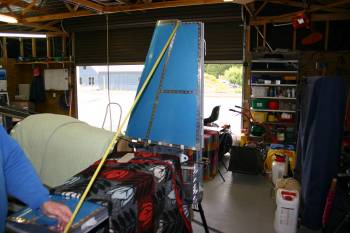
|
| All the alignment comes from the rear bulkhead doubler. | 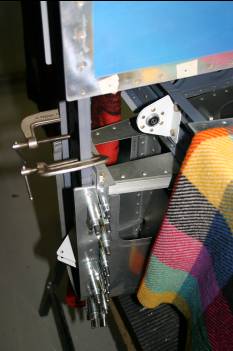
|
| We back drilled through the reference locations in the angle bracket | 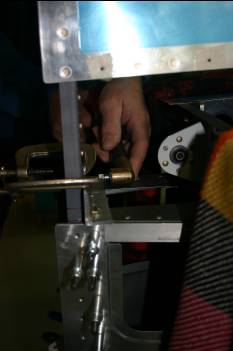
|
| and then 3/16" from the back forward. | 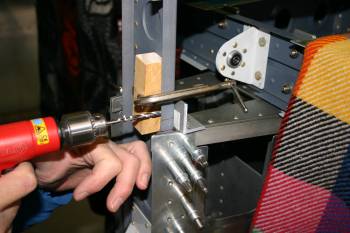
|
| We added the 'precision' washer on the left rear spar, and the front moves 1/4" to the left...... | 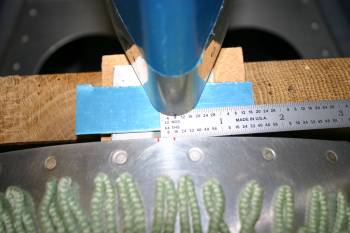
|
| The problem is with the rear brackets in a single straight line the forward (recently trimmed spar) is now about 1/4" too short..... An email to VANs to find out the 'best' solution. | 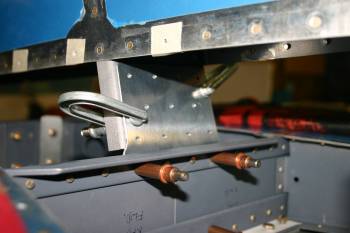
|
|
| Dad continued with the VS mounting. The main challenge was marking the locations for the attach bolts, why VANs doesn't get you to pre drill these with the spar on the bench beats me! | 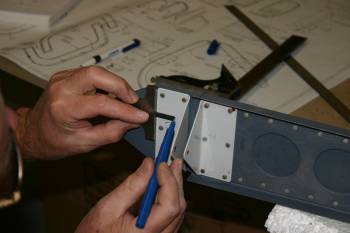
|
| We then pilot drilled the VS on the drill press. | 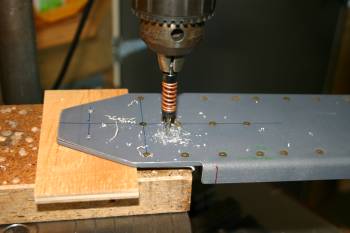
|
| The 'precision' washer super-glued in place. | 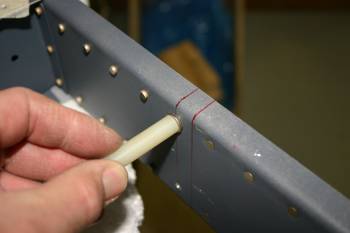
|
| After remounting the VS for drilling of the rear bulkhead, opened up for the 3/16 bolts. The bulkhead was then removed and the tie down bar drilled. | 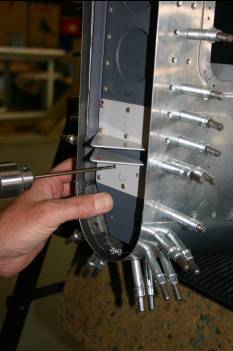
|
|
| Dad continued with the VS bulkhead / mounting. | 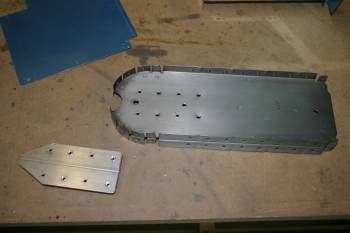
|
|
| | 
|
| | 
|
| | 
|
|
| | 
|
| | 
|
| | 
|
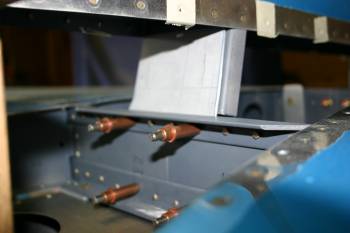
| | 
|
|
| | 
|
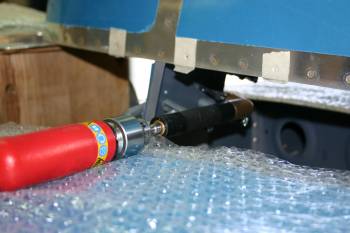
| | 
|
| | 
|
|
| First up I sorted the fitting of the VS attach spar which Dad sorted a couple of days ago. I was on my own, and still trying to wake up from the relaxing weekend, slow progress all in all. | 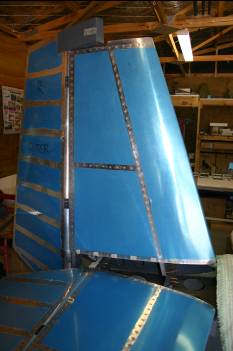
|
| After de-rigging all the empennage the HS locations were drilled. | 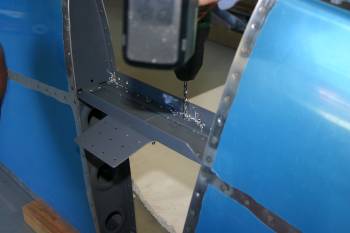
|
|
| We de-rigged the VS for final deburring and riveting. | 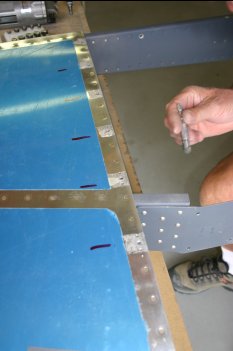
|
| Dad finished the VS nutplates, it does help to have the nutplate cleco'd in before squeezing the rivets........ | 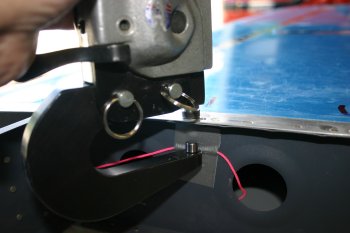
|
|
| Empennage all mounted back up. | 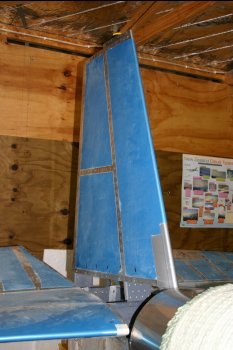
|
|
| Little progress - back to slow planning and thinking. One thing on the list is where to exit the rear most bulkhead for the strobe and nav lights cables - various options, a question on VAF and an email to VANs. | 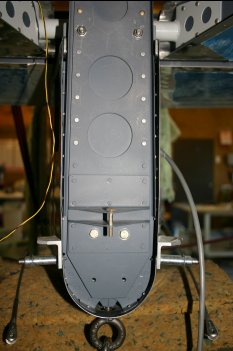
|
|
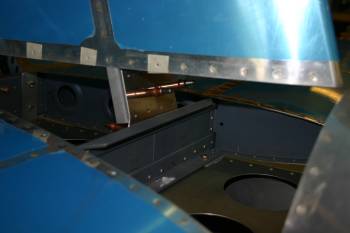
| Dad removed the VS and worked on the rear spar penetration for the lights. After discussion with VANs and finding what others have done, we elected to go with the removal of a single rivet and use a snap bush. Both the strobe and the nav lights can go through the single location. | 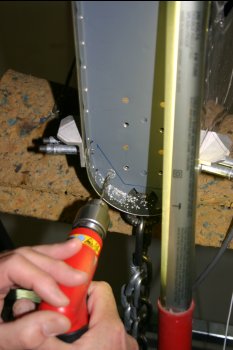
|
| Then the HS locations for the trim wires. | 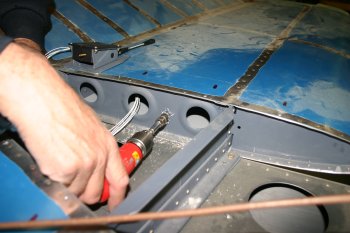
|


