Thu 13 January 2005 |
| First up, we de-rigged the VS / rudder and re-stored. | 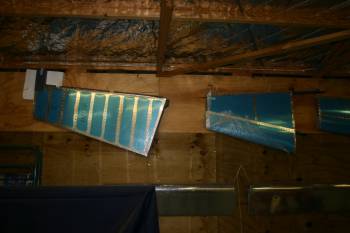
|
| Also I finished some of the de-burring of various forward cockpit supports. | 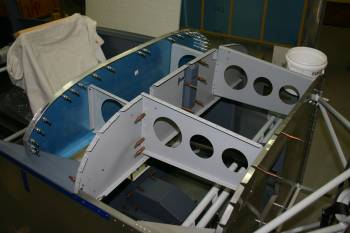
|
| The rear upper fuse skin needed the support panel back riveted. | 
|
| And the pitch servo mount plate. | 
|
| The forward tank attach bracket needed to be held with keeper rivets, the problem is access for the bucking bar. Some modification of a stock bucking bar and polishing sorted a custom solution. | 
|
| Then we moved onto the fuel vent line, the tank inlet position is a compromise between aft enough to clear the wing fairing and forward enough to clear the angle. | 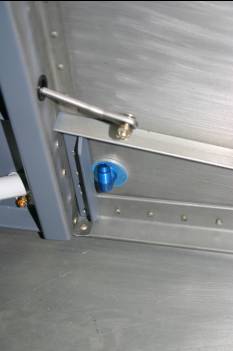
|
| Then it was the fun and games of bending the vent lines. These are known as a real PITA although we only had a couple of false starts. The key seems to be the first bend, it needs to be as tight as possible and then go from there. | 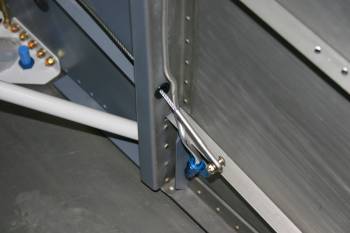
|
| The top corner / other bends I used a old pulley and the bending spring which seemed to work well. | 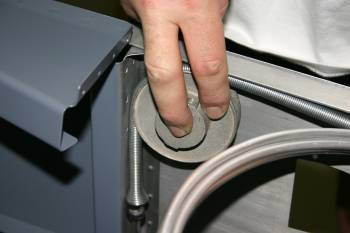
|
| Obviously two sides, the second one worked slightly better. | 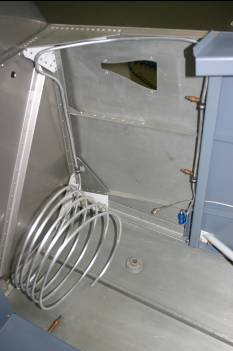
|
| The product of 6 hours work - two pieces of bent tube - ready for installation (or scraping :-) | 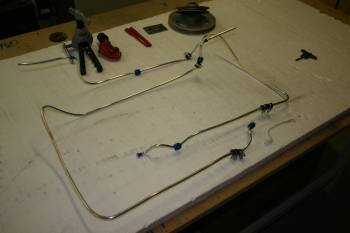
|
| Then we moved to wings and conduit locations. Dad made a template jig and we used a long #30 drill. | 
|
| Then opened to 3/4" with the uni-bit. | 
|
| The long 12" reach option as needed. | 
|


