Wed 01 February 2006 |
| Dad spent most of the day working on various bits around the rear upper fuselage. | 
|
| One outstanding item was the new tip rollbar support. This requires some additional rivets, but by default this area had already been fluted so needed to be flattened. | 
|
| The 8 aft most rivets need to be match drilled from below. | 
|
| Dad also sorted various measurements and prep for the skins and roll bar ready for top coating and misc modifications. | 
|
| Meanwhile, I was back to sanding, starting with the sides of the cowls. | 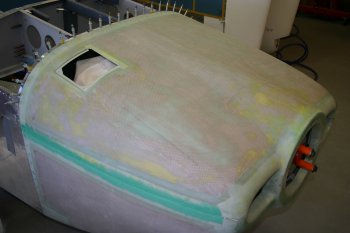
|
| The rough result after 80 grit, seems like a good start, I'll wait until the bottom cowl has been surface prep'd to finish the blending of the edges. Also letting the resin cure fully is probably advantageous. | 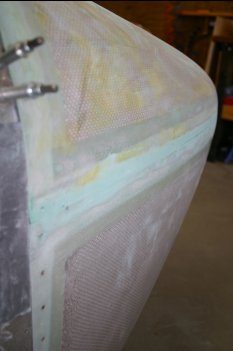
|
| The VANs strut mounts were drilled out and re-attached so the canopy could be put back on the fuselage for some alignment checks / panel layout. | 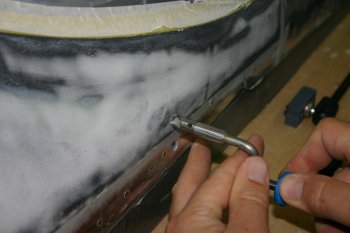
|
| Continuing with the cowls, I started on the inlets, I've pretty much decided to go the full hog and redo the inlets and provide custom ducts to the plenum. This is quite a bit of work, but should provide a 'unique' look and it is something that I believe is a good engineering solution - I may yet live to regret it! | 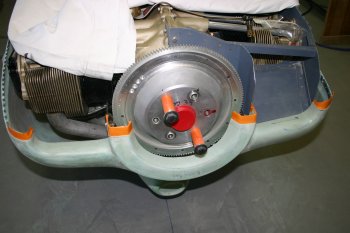
|
| I put the cowl halves back together after using electrical tape to provide a release line at the joint locations and also used some clay to help it specific areas. | 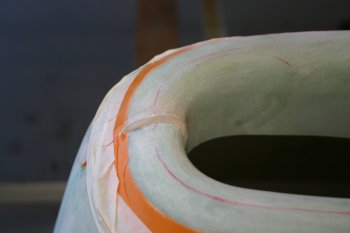
|
| This was the finished masking, prior to glass layup. | 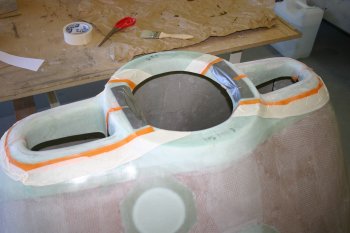
|
| a 2oz, 6oz, 2oz sandwich - hopefully this will be enough to start the process. | 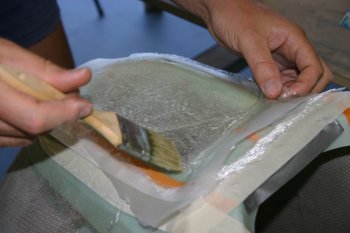
|
| To try and help get a flat-ish surface I used a couple of sheets of baking paper plus 032 AL sheet. | 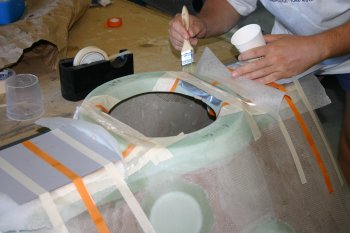
|
| The whole cowl was then turned upside down and left to cure. I'm expecting to leave this for a couple of days and let things really set before starting to drill 4" holes in the front. So I now have a one piece cowl! | 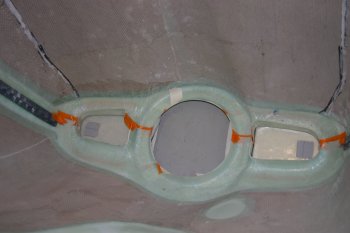
|
| Of course it wouldn't be the same if there wasn't some canopy sanding somewhere in the day! I manage to finish the upper edge, so the initial sanding is now complete, next is re-masking and then more microballoon filler. | 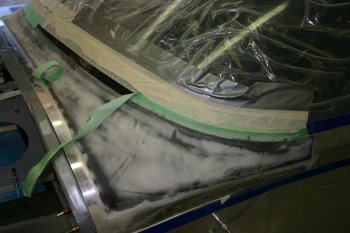
|


