Thu 21 December 2006 |
| Dad started by mounting the LHS Duckworks light - we have the extra spacers due to the manufacturing problems. NAS screw-bolts have been used (3-10s) which makes it a bit easier to adjust. | 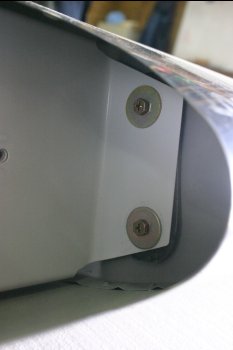
|
| I cleared up and prep'd for the LHS wing lower outboard skin. | 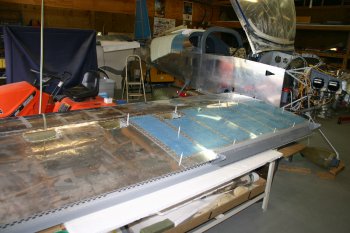
|
| First step was completing the pitot mast mount / doubler - all squeezed on. The mast is captive at this point. | 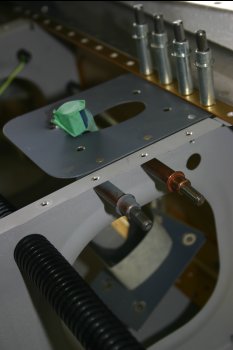
|
| Then onto rivetting - we started in the trailing edge corner, working an L shape to the mid span and up to the next 'cell'. | 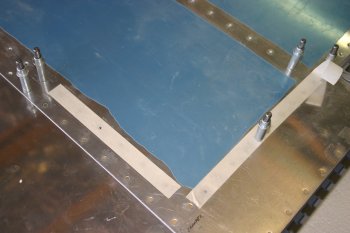
|
| We then moved to the next cell trailing edge and worked the ribs up. This was repeated for the first 3 cells, then a simpler, rear edge, rib, front edge sequence could be used. | 
|
| Putting a cloth in the "bottom" whilst rivetting helps reduce the risk of dropping a bucking bar onto the top skin. | 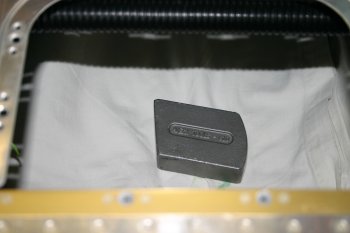
|
| The finished skin - a couple of minor smillies, but overall good. | 
|


