Fri 30 January 2004 |
| I started the day match drilling the #30 holes for the attach brackets. Then the normal deburring and finishing of the edges. | 
|
| All the aileron attach brackets are powder coated by the factory which means the pre-drilled holes for AN3 bolts are no longer big enough. A simple run through with a #12 drill does the job for the main pivot joints and a #30 for the match drilling into the aileron. | 
|
| One of the challenges with the QB aileron is the third bolt on the inboard end should (as per plans) go into a platenut just inside this little mouse hole. The drawing call out is for AD3 solid rivets, but I'm completely baffled how you can set a rivet in this space. The smallest no hole yoke is still far too big and bucking looks impossible.
I sent a query to the SoCAL list and the general views seem split 50/50 on 'just use a normal nylock or use cherry max rivets to hold the platenut'. The strength comes from the bolt, the rivet just stop the 'nut' rotating in the confined area. Not sure yet, I'll sleep on it..... | 
|
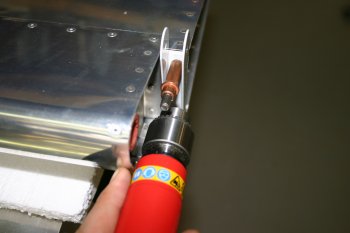
| The other problem was the lack of clearance to use the air drill to match drill the brackets (both outboard - as shown, and the platenut bolt on the inboard bracket). I decided before making a decision I would confer with Dad so I changed activities again. | 
|
| A large chunk of the afternoon was spent cleaning and smoothing the edges of any pre-punched parts that I could find easily. This work has to be done at some point, is pretty simple and may as well be done now. I sorted all the internal cockpit areas (eg. Panel sub structure, tunnel covers, flap actuator covers etc) and these are now all ready to be used in anger.
It is also nice to be able to handle parts for each new section ahead of time as it gives the opportunity to understand how some of the bigger picture fits together. | 
|
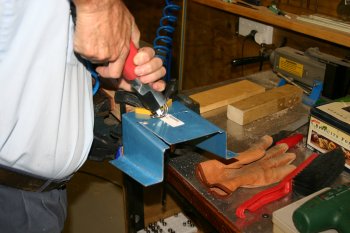
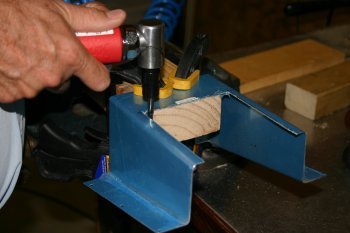
| In the end I decided to go with a long #30 drill to match drilling the brackets to the aileron and then separate drillings for the #12. The powder coated parts I did in the pillar drill. | 
|
| I also did the bell cranks whilst I was setup for the #12 drill (AN3 bolt size). | 
|
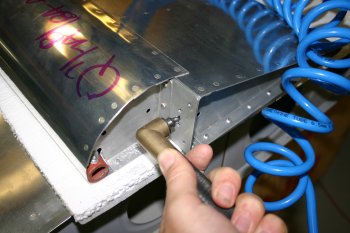
| Then I used the stubby drill in the rightangle attachment and completed the drilling on the aileron. If I find a solution I'm comfortable with we might get a completed sub assembly tomorrow (the first of the project) - a RHS aileron. Not quite the standard order, but I only have to put 5 bolts in and torque them up..... | 
|
| Dad managed to get some more work down on the airflow cover attacking it first with the sabre saw (scary tool number 1). | 
|
| Followed by the rotary burr (scary tool number 2). Getting there slowly. | 
|


