Left Wing |
|
| Same deal as the right wing for the duckworks lights hole. Use the template (the other way up), measure carefully and tape down for marking. | 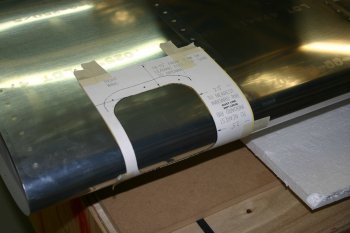
|
| Drill into the leading edge (I used a unibit) so that the blade can start vertically. | 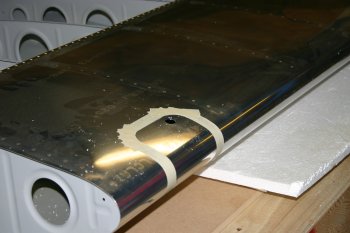
|
| CAREFULLY cut the hole out leaving about 1/8" of metal. | 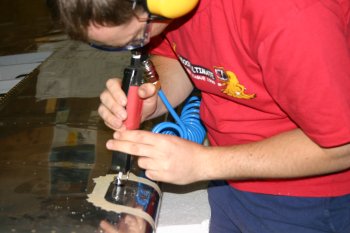
|
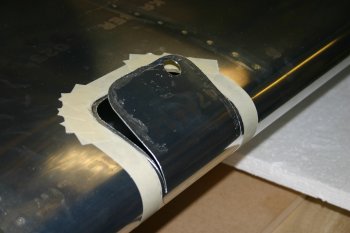
| This is as far as I got today. The wing needs to be turned over to complete the cut and Dad had to go out this evening.
| 
|
|
| Dad gave me a hand first thing and we flipped the wing and I finished butchering the lead edge for the land light installation. | 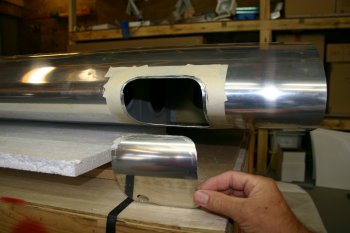
|
| Next I used the rotary burr to get close to the shape we wanted. This is a another scary tool in such a critical location. It is the right tool for the job but it is literally just like using a hot knife slicing through butter. You can be very accurate but need to be very careful. | 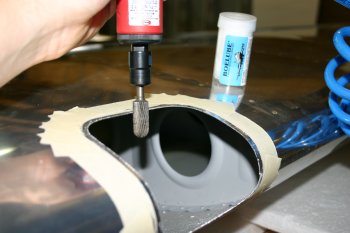
|
| The resulting product after using the rotary burr. | 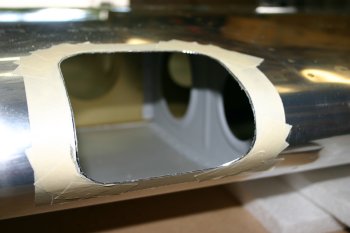
|
| The edges were then finished by hand with a file, sandpaper and scotch brite pads. A good result, but it takes a little longer than a couple of hours (as quoted by duckworks :-). | 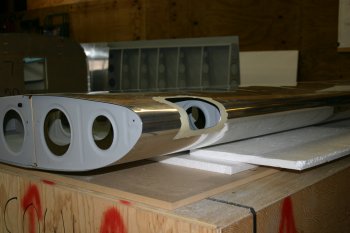
|
|
| First job for the day was the other duckworks lens. This one was significantly easier as I had some idea of what I was meant to be doing. All came out really well in the end. More parts added to the pile for priming. | 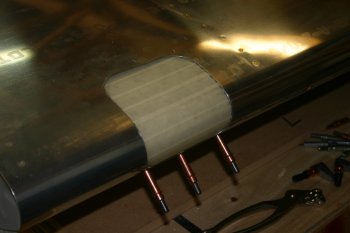
|
|
| Left wing flap brace. Note the temporary packing of the scrap hinge piano for spacing. | 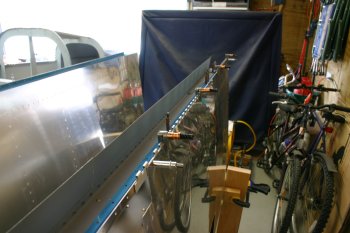
|
| Left wing aileron brace match drilling. | 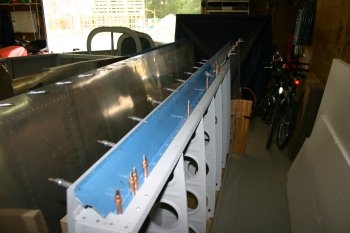
|
|
| First item of the day was drilling the other aileron for the attach brackets.
Then I put both the ailerons to one side, not completed as I've decided to use countersunk pop rivets to locate and hold the nutplates. However these need to be ordered with my next general order from Spruce / Wicks (whoever) and we can continue rigging without these nutplates being in place for the moment. | 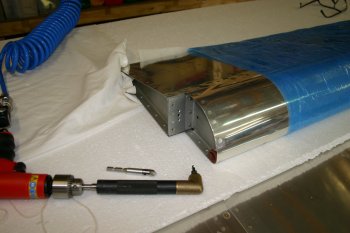
|
|
| Dad started the LHS wing lower skin. The outboard rib had a funny 'flute' going the wrong way. Even the QB guys can get it wrong occasionally. | 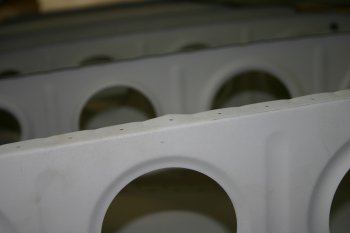
|
| Skin cleco'd up ready for drilling. Dad had to leave early so only limited progress. | 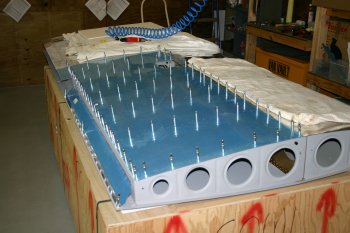
|
|
| Dad did some more work on the wing ribs, dimpling, deburring etc. | 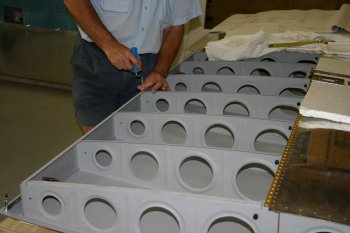
|
| I started looking at the Gretz pitot mount. I've chosen to go with the larger combination pitot with dynamic and static sources (these are need for the instruments to know what speed and how high the plane currently is). | 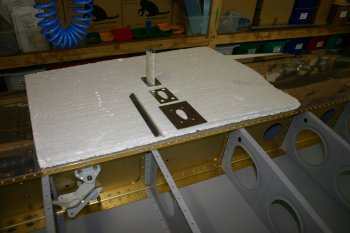
|
| Trying to get the reinforcement panel facing directly forward is a bit of challenge, I ended up using the machined template as a reference edge and aligning against the spar. | 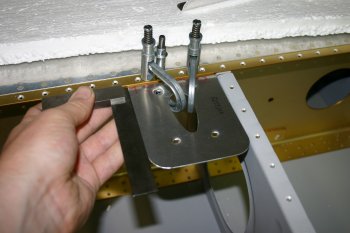
|
| A little support bracket (outboard side) was fabricated to strengthen the edge of the plate and drilled & dimpled as per normal. | 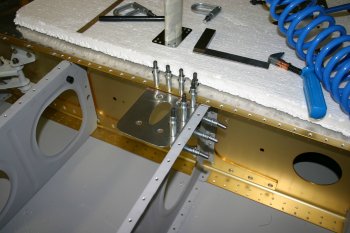
|
| The next step was to create yet more holes in the wing surface. Careful measurement and alignment completed the #19 drill makes it mark. The cutting of the 'funny' shaped hole I'll leave for tomorrow. | 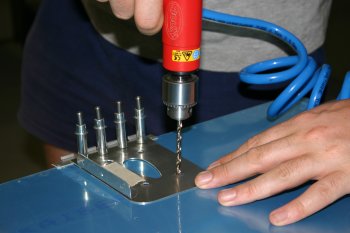
|
|
| The first job of the day was to sort the funny shaped hole for the pitot mount. I started by using the hole drills to get points at both ends of the shape. | 
|
| Then it was "scary tool #2" - the rotary burr. This got the shape pretty close. | 
|
| Then it was back to the old fashioned file and scotchbrite pads. | 
|
| The finished product ended up really neat and tidy. More parts for the priming pile. | 
|
| Then I riveted the nutplates onto the pitot mount. | 
|
| The FIRST completed sub-assembly of the project, not quite the normal VANs order but never mind.... | 
|
| Meanwhile during the day Dad deburred and sorted the RHS lower skin. | 
|
| We also completed the dimpling of the lower skin and finished the edges. | 
|
| The skin and pitot mount cleco'd back onto the wing structure for safe storage. | 
|
|
| Dad drilled the brackets for the left wing and countersunk the required locations. | 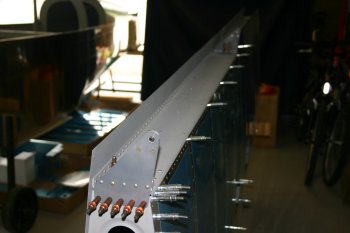
|
|
| The left wing was also on today's list, so I started riveting the aileron attach brackets on. The side and top 3 aft rivets can all be done with the pneumatic squeezer the rest needs to be shot / bucked. | 
|
| What NOT to do. The pressure used for the squeezer is around 90 PSI, the pressure needed for the 3X rivet gun for AD4 rivets is around 40 PSI. Guess what this is a picture of??? The rivet gun now has large black letters of "PRESSURE" written on it....... We carried on and came back to the bad ones that needed to be drilled out. | 
|
| The remnants of the bad rivet. You can see it wasn't just the manufacture head (left side) that was a mess, the shop (right side) is also VERY wrong.... | 
|
| The aileron brackets all mounted, the inboard bracket need the majority of rivets bucked and by the end we were feeling a little more comfortable with the whole process. More practice needed. | 
|
| The inboard mount spacing was setup the same as the right wing but I found the spacer needed to be reduced from 17/32" to a simple 1/2". After that it was all fine and dandy. | 
|
| This is how we 'locked' the aileron in position the meter ruler was cleco clamped to the alignment tooling holes and the magic gaffer tape was run under the top surface of the aileron and over and round the straight edge. | 
|
| Dad then started on the flap mounting on the left wing. | 
|
| The finished cleco'd piano hinge. The flap / aileron distance is again about 9/32" but the trailing edge is quite as good as the right wing although it is well within limits (about 1/32"). | 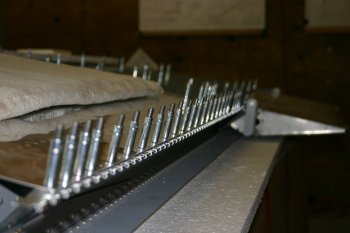
|
| We opted to the central location for the hinge wire and this required three 'tabs' to be removed. We found flush cutters worked well on the soft hinge AL. | 
|
|
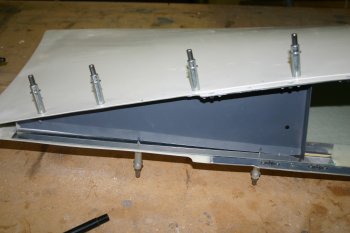
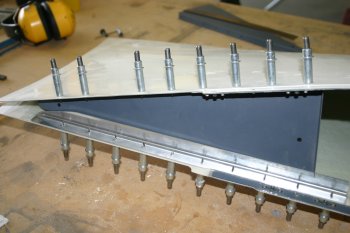
| Dad started by sorting the left wing flap brace. The wing skin side needs to be countersunk. | 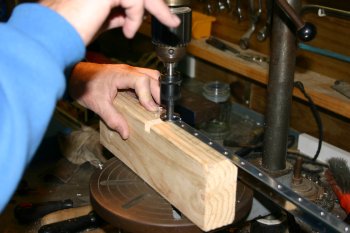
|
| Wing skin dimpling for the flush AD3's. | 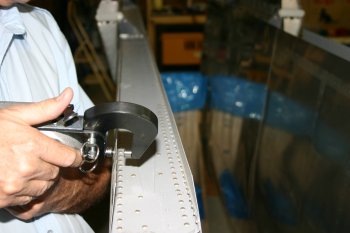
|
| We cleared the decks and Dad got stuck into finishing the wing skins. Not too bad, mainly access plate and general tidying. | 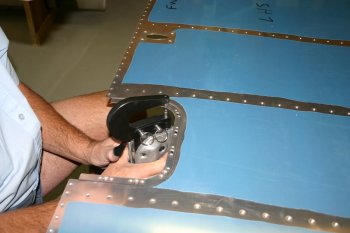
|
|
| The left hand wing is easy, the jig spacer provided gives a good starting position for the bellcrank in the 'neutral' position and it is just a set the push rod and tighten. | 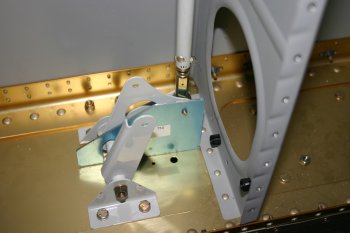
|
|
| I then started with the left wing and removed the QB rivets where the wing / fuselage covers go. | 
|
| Whilst the wing was on the bench I re-clecoed the under-skin back on. Hopefully I'll get a chance to look at the AOA system soon and we need to look at the positioning of the sensors. | 
|
| I continued with the wings and started the nutplate mounting for the upper skins. | 
|
| Nutplate mounting was the normal dimple / riveting process. The nutplates were a mixture of countersunk, normal and one legged. | 
|
| The lower wing skin has several locations that have to be drilled out for the lower fuselage skin. Again the QB boys got keen and filled lots of rivet locations. | 
|
|
| I started by fixing the wing / fuselage cover. I suspect these are going to be a constant bug-bear. | 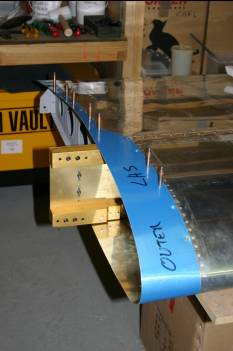
|
| I went back to the Left wing and did the attach bracket. | 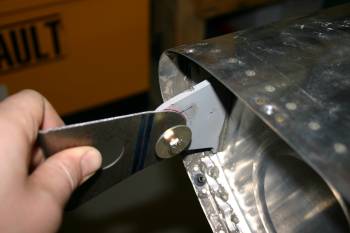
|
| Then started looking at the wing tip. This will need significant shaping at the aft tip, I'm not sure what tools / methods to use yet. | 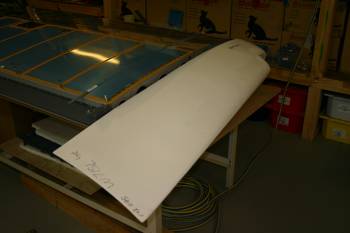
|
|
| Finishing up for me, I did the LHS wing tip trimming, not quite complete, but good first stab. | 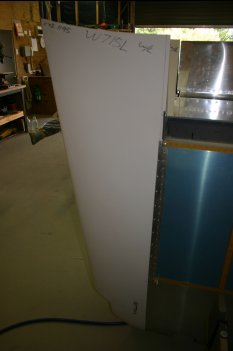
|
|
| Bitty day in general and misc domestics. Continuing with the LHS wing, I removed and processed the edges and feathering on the outboard lower skin. | 
|
| One lesson learnt from the RHS wing - get any snap bushes to point 'away' from the side you need to buck - this is the better way.... | 
|
| Then I went onto the pitot mount and connections. The pitot comes with -4 flared fittings and I understand the whole pitot / piping can get quite hot - too hot for direct connection of plastic tubing. Therefore we have decided to use soft AL tube for the first 18" or so and provide the joint at the mid access cover. | 
|
| The flared connections need to be just below and just above the wing skin level and we plan to slide the mast 'up' into the wing for the connection process. It is going to be tight in there with the nuts, wire and connectors. | 
|
| The whole system. I've trimmed the AL tube different lengths and tomorrow I'll label properly. Hopefully the stager should reduce any change of incorrect static / dynamic confusion. | 
|
| Dad started sorting the DuckWorks light nutplates locations. | 
|
|
| Dad sorted the LHS wing duckworks lights mounting - just a few nutplates. | 
|
|
| Dad started by mounting the LHS Duckworks light - we have the extra spacers due to the manufacturing problems. NAS screw-bolts have been used (3-10s) which makes it a bit easier to adjust. | 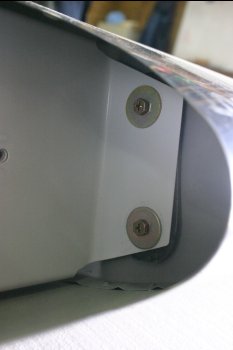
|
| I cleared up and prep'd for the LHS wing lower outboard skin. | 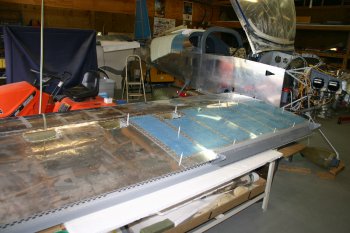
|
| First step was completing the pitot mast mount / doubler - all squeezed on. The mast is captive at this point. | 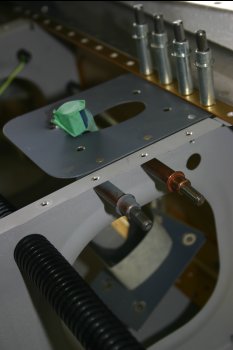
|
| Then onto rivetting - we started in the trailing edge corner, working an L shape to the mid span and up to the next 'cell'. | 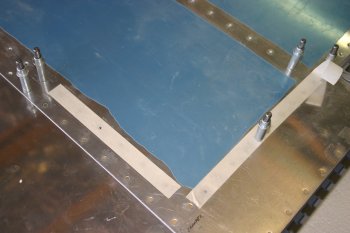
|
| We then moved to the next cell trailing edge and worked the ribs up. This was repeated for the first 3 cells, then a simpler, rear edge, rib, front edge sequence could be used. | 
|
| Putting a cloth in the "bottom" whilst rivetting helps reduce the risk of dropping a bucking bar onto the top skin. | 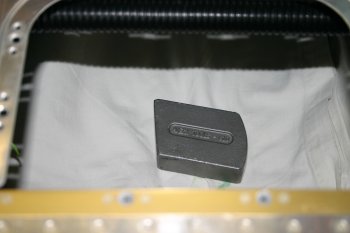
|
| The finished skin - a couple of minor smillies, but overall good. | 
|
|
| | 
|
| | 
|
| | 
|
|
| | 
|
| | 
|
| | 
|
| | 
|
|
| | 
|


